Submit a New Docket
The Submit a New Docket feature in the Case Management System enables authorized NMPRC divisions to initiate new cases within the centralized case management platform. This allows the users to file cases on behalf of filers when submissions are received outside the public portal. These may include filings submitted by: Email, Mail, or Walk-in / In-person delivery.
This functionality replaces traditional manual or email-based submissions, providing a standardized and transparent method for case creation, document upload, and party management across divisions.
Upon activation, automated system notifications are sent to key stakeholders, including Records, OGC, Legal, Commissioners, Hearing Examiners, Pipeline Inspection, and Utility divisions, ensuring full awareness of new filings.
This feature allows users to enter all relevant case information, including filing details, parties involved, notice recipients, and supporting documentation, through a guided, step-by-step form. Upon submission, the system automatically generates a unique case number or confirmation ID, applies predefined workflow rules based on the submitting division, and routes the case for review or activation as appropriate.
Before You Begin
Prerequisites:
- You must belong to one of the authorized divisions: Records Division, Office of General Counsel (OGC), or Legal Division
- You must have the appropriate role permissions (Records Staff/Supervisor, OGC Staff/Supervisor/Paralegal, or Legal Staff/Supervisor)
- The company must be registered in the system (if filing on behalf of a company)
- You should have all required case information ready, including:
- Case type and category
- Party information and contact details
- Supporting documents
- Service notification recipients
What You'll Need:
- Company information (or ability to register a new company)
- Party contact details (name, address, email, phone)
- Lead attorney information (if applicable)
- Supporting documents ready for upload
- Service notification list
Tip: The form can be saved as a draft if you need to gather additional information before final submission.
Divisions and Roles Authorized to Create a New Case
The ability to create new cases is limited to specific NMPRC divisions and user roles that participate in regulatory filings, case management, and official record maintenance.
| Division | Eligible Roles | Function in Case Creation |
|---|---|---|
| Records Division | Records Staff, Records Supervisor | Responsible for creating and activating cases that are initiated internally or received via portal submission. Cases created by Records become Active immediately and are visible to all parties. |
| Office of General Counsel (OGC) | OGC Supervisor, OGC Staff, OGC Paralegal | Authorized to create and file new cases directly in the system. Cases initiated by OGC users are automatically made Public and Active upon submission, with notifications sent to all relevant divisions. |
| Legal Division | Legal Supervisor, Legal Staff | Can create new cases and submit filings for review. Cases created by Legal users are initially set to New and routed to the Records Division for validation and activation. |
To submit a new case in the CMS Portal, follow the steps below.
Login Section
While most users have view or review capabilities, only specific divisions — Records, OGC, and Legal — have the authority to create and submit new cases within the system.
When navigating to the NMPRC Case Management System, the following welcome screen is displayed:
- On the Welcome Screen, click the Sign In button.
- You will be redirected to the Login Page.
- Enter Username or Email and Password in the designated fields.
- Click the Sign In button to access the system.
- Select Remember me if you want the system to save your login details on the current device.
- If you have forgotten your password, click Forgot Password? and follow the reset instructions.

Navigating to Dashboard
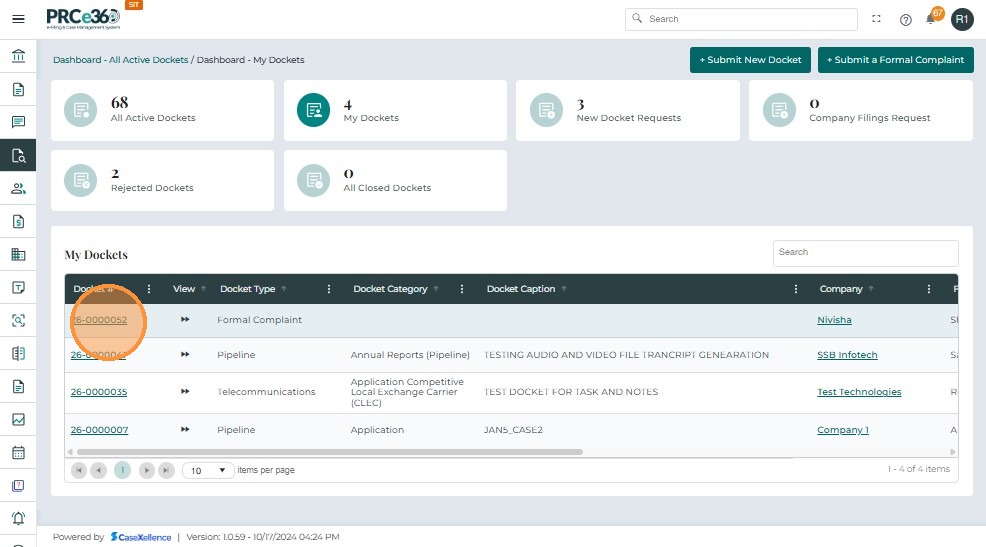
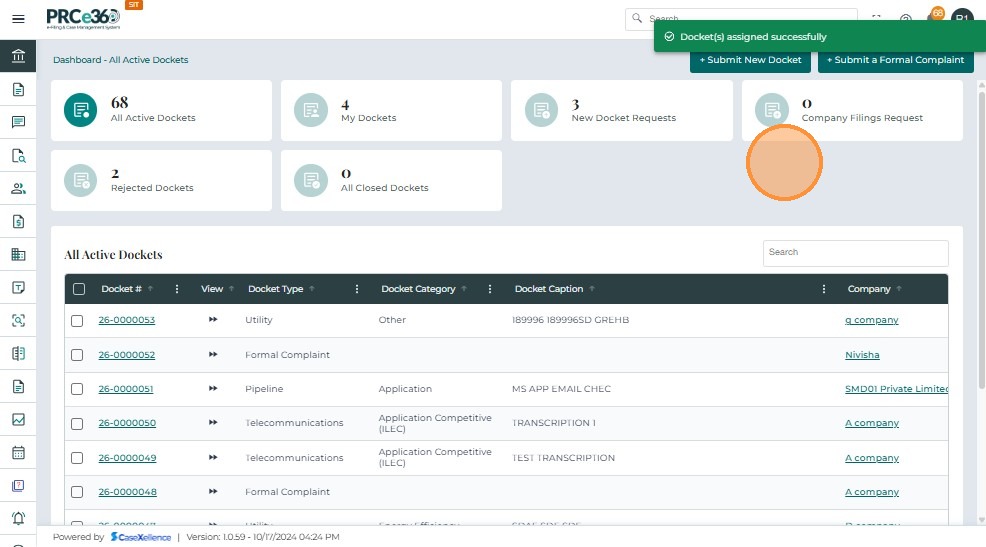
After logging in, the user is directed to the Dashboard. This screen serves as the main control panel for case management activities.
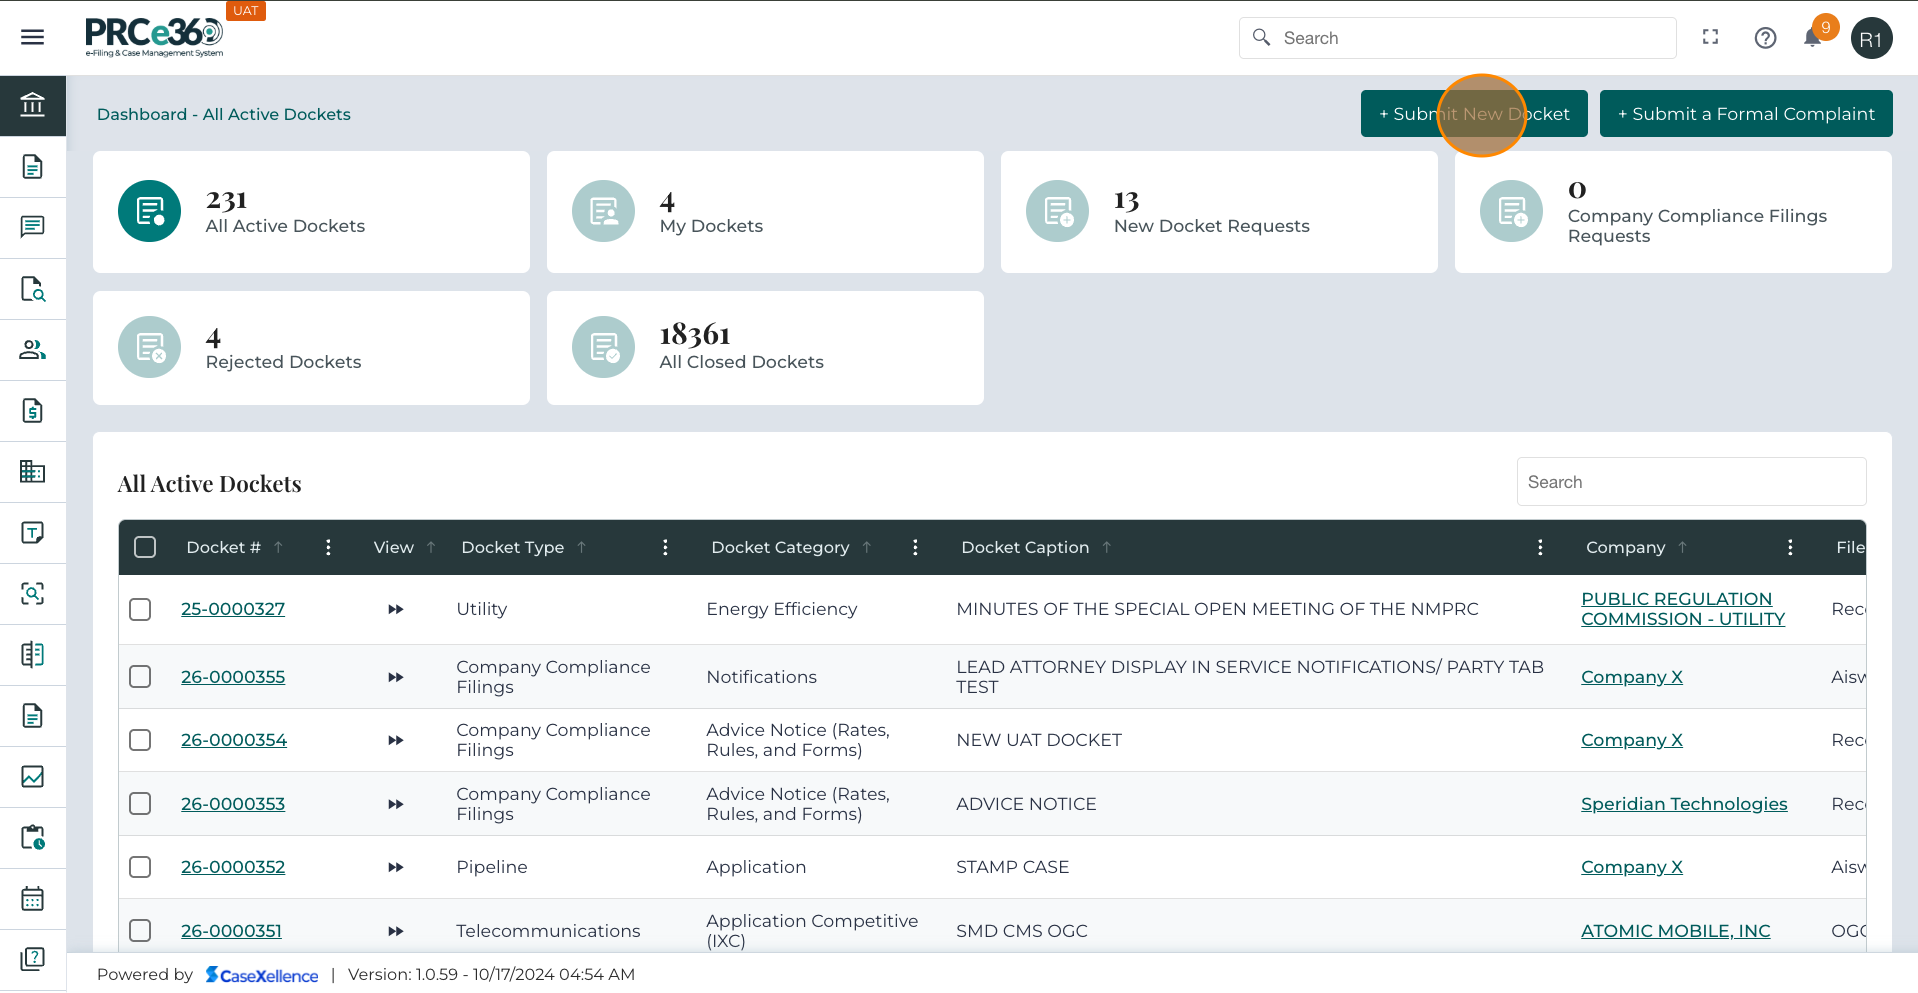
- All Active Dockets – Displays the number of active cases currently being handled.
- My Dockets – Shows cases assigned to the logged-in user.
- New Docket Requests – Lists requests pending case creation.
- Rejected Dockets – Displays cases rejected during the review process.
- All Closed Docket – Displays completed and closed cases.
- To check the status of your cases, review the summary boxes or scroll to the All Active Dockets table.
- Use the search bar to quickly find case records.
- Check the notifications icon regularly for important updates.
Initiating a New Docket
To initiate a new filing:
-
Click the + Submit New Docket button at the top of the dashboard.
-
This functionality is available to users from the following divisions and roles:
- Records Division – Records Staff, Records Supervisor
- Office of General Counsel (OGC) – OGC Staff, OGC Supervisor, OGC Paralegal
- Legal Division – Legal Staff, Legal Supervisor
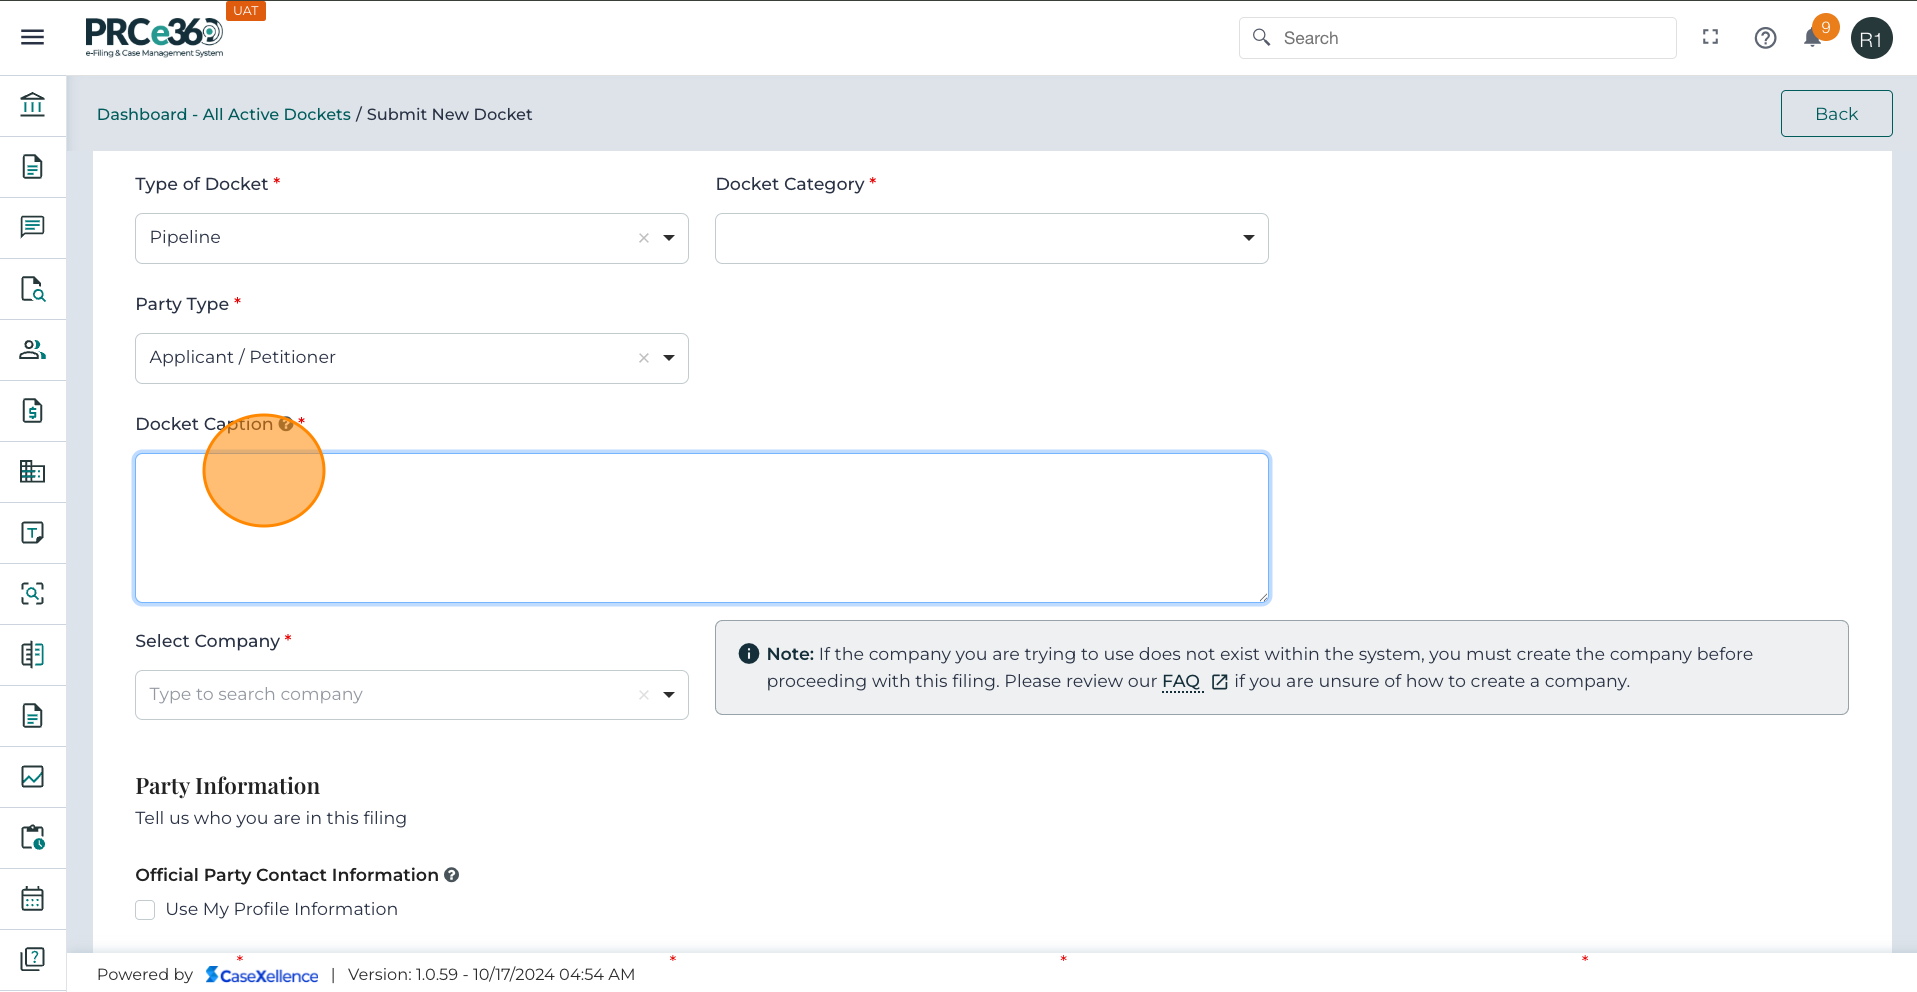
Docket Information
After selecting + Submit New Docket from the Dashboard, the system opens the Submit New Docket. Here, the user must enter the case’s primary details.
-
On the Create New Docket screen, click inside the Type of Docket dropdown field.
-
A list of available case categories will appear.
-
Select the category that best matches your filing (Pipeline, Telecommunications, or Utility).
- Pipeline – For filings related to pipeline safety, inspections, or disputes.
- Telecommunications – For cases involving telecom services or regulations.
- Utility – For filings involving electric, gas, water, or other regulated utilities.
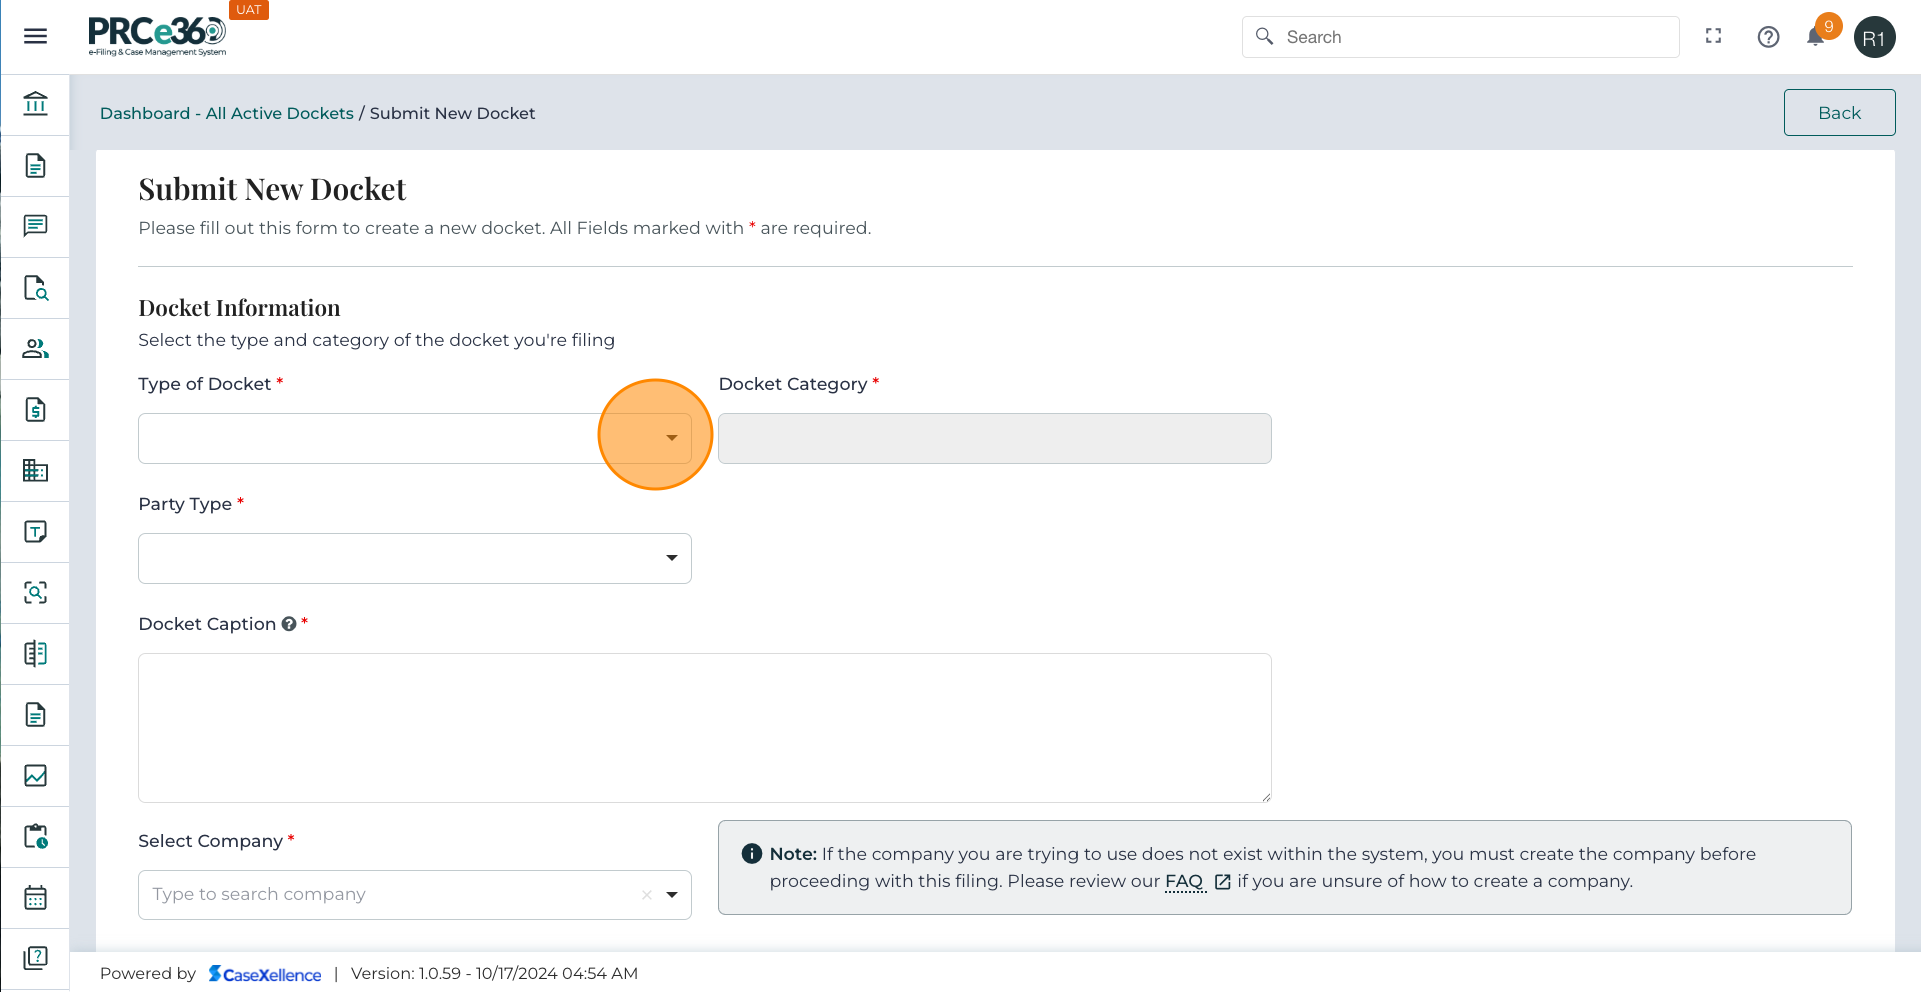
- After choosing the Type of Docket, the next step is to select your Document Category.
- Click the Document Category dropdown field.

-
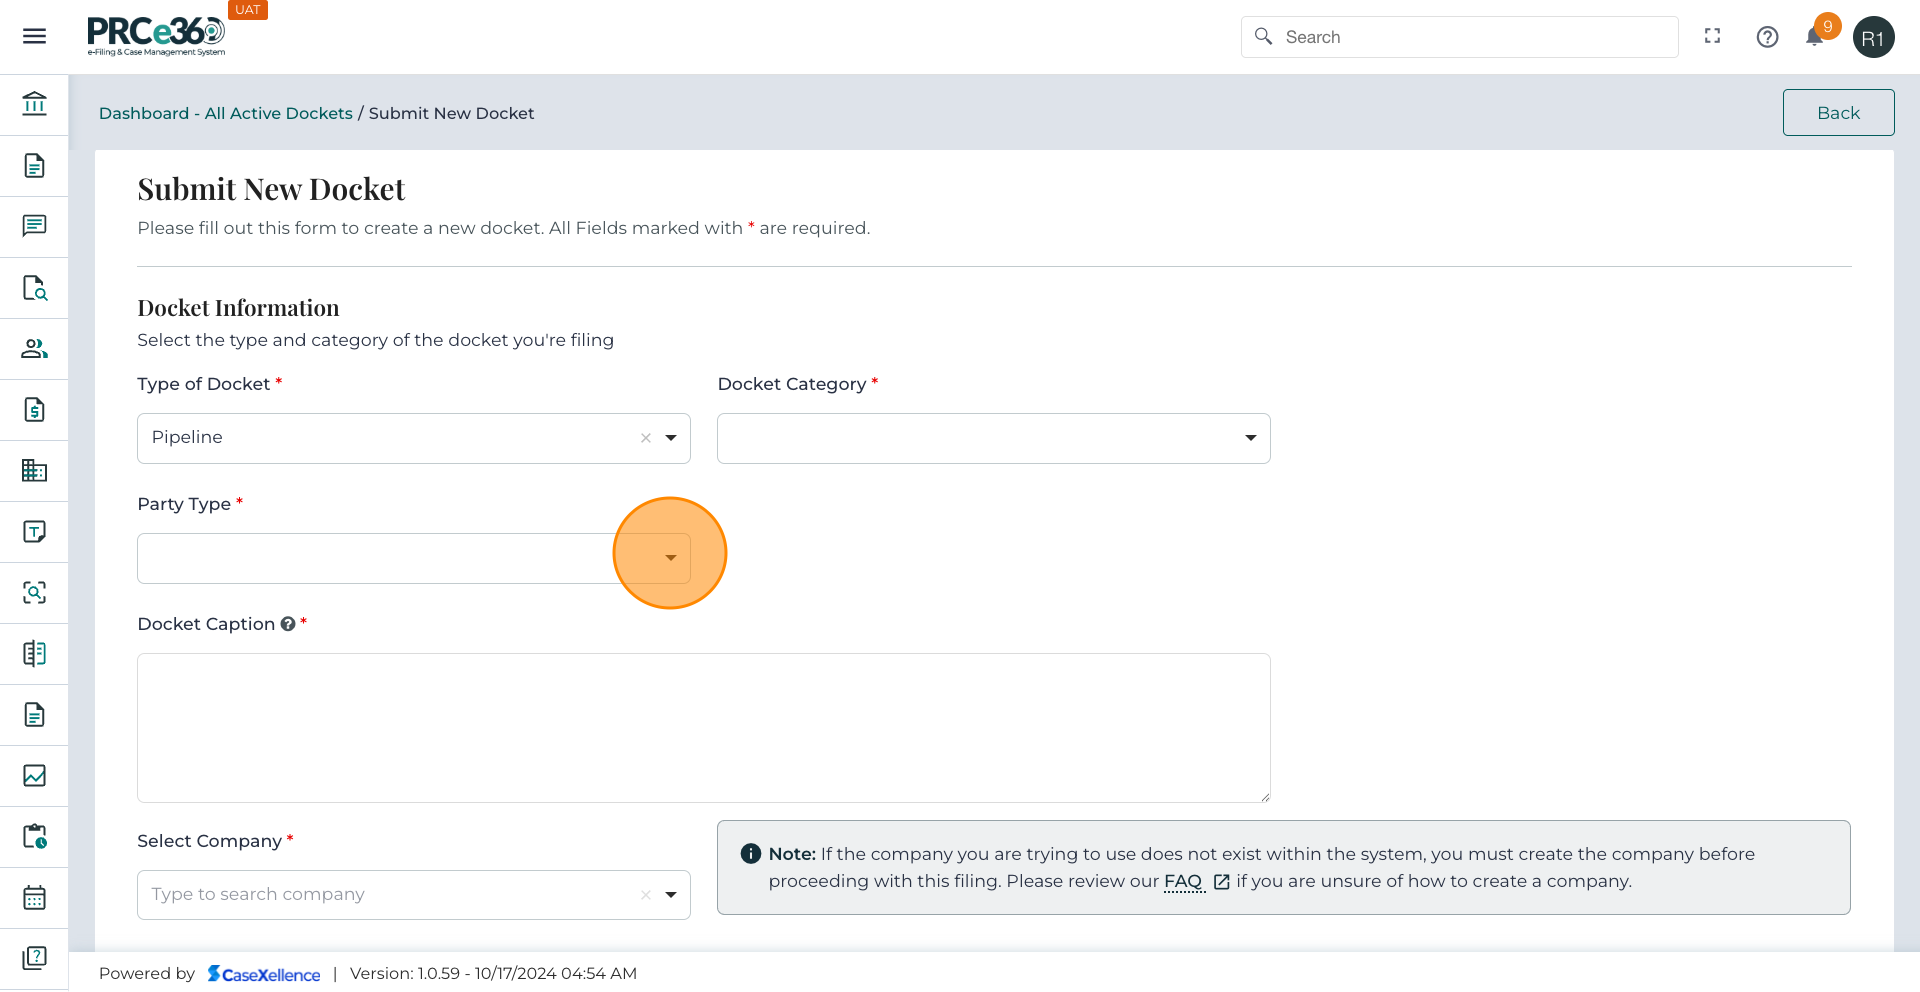
After choosing the Type of Docket, the next step is to select your Party Type.
-
Click the Party Type dropdown field.
- If you are submitting the filing → select Applicant / Petitioner.
- If you are PRC staff filing internally → select Commission Staff.
- If you are a utility provider → select Utility Company.
- In the Docket Caption field, type a brief but descriptive title for your case.
-
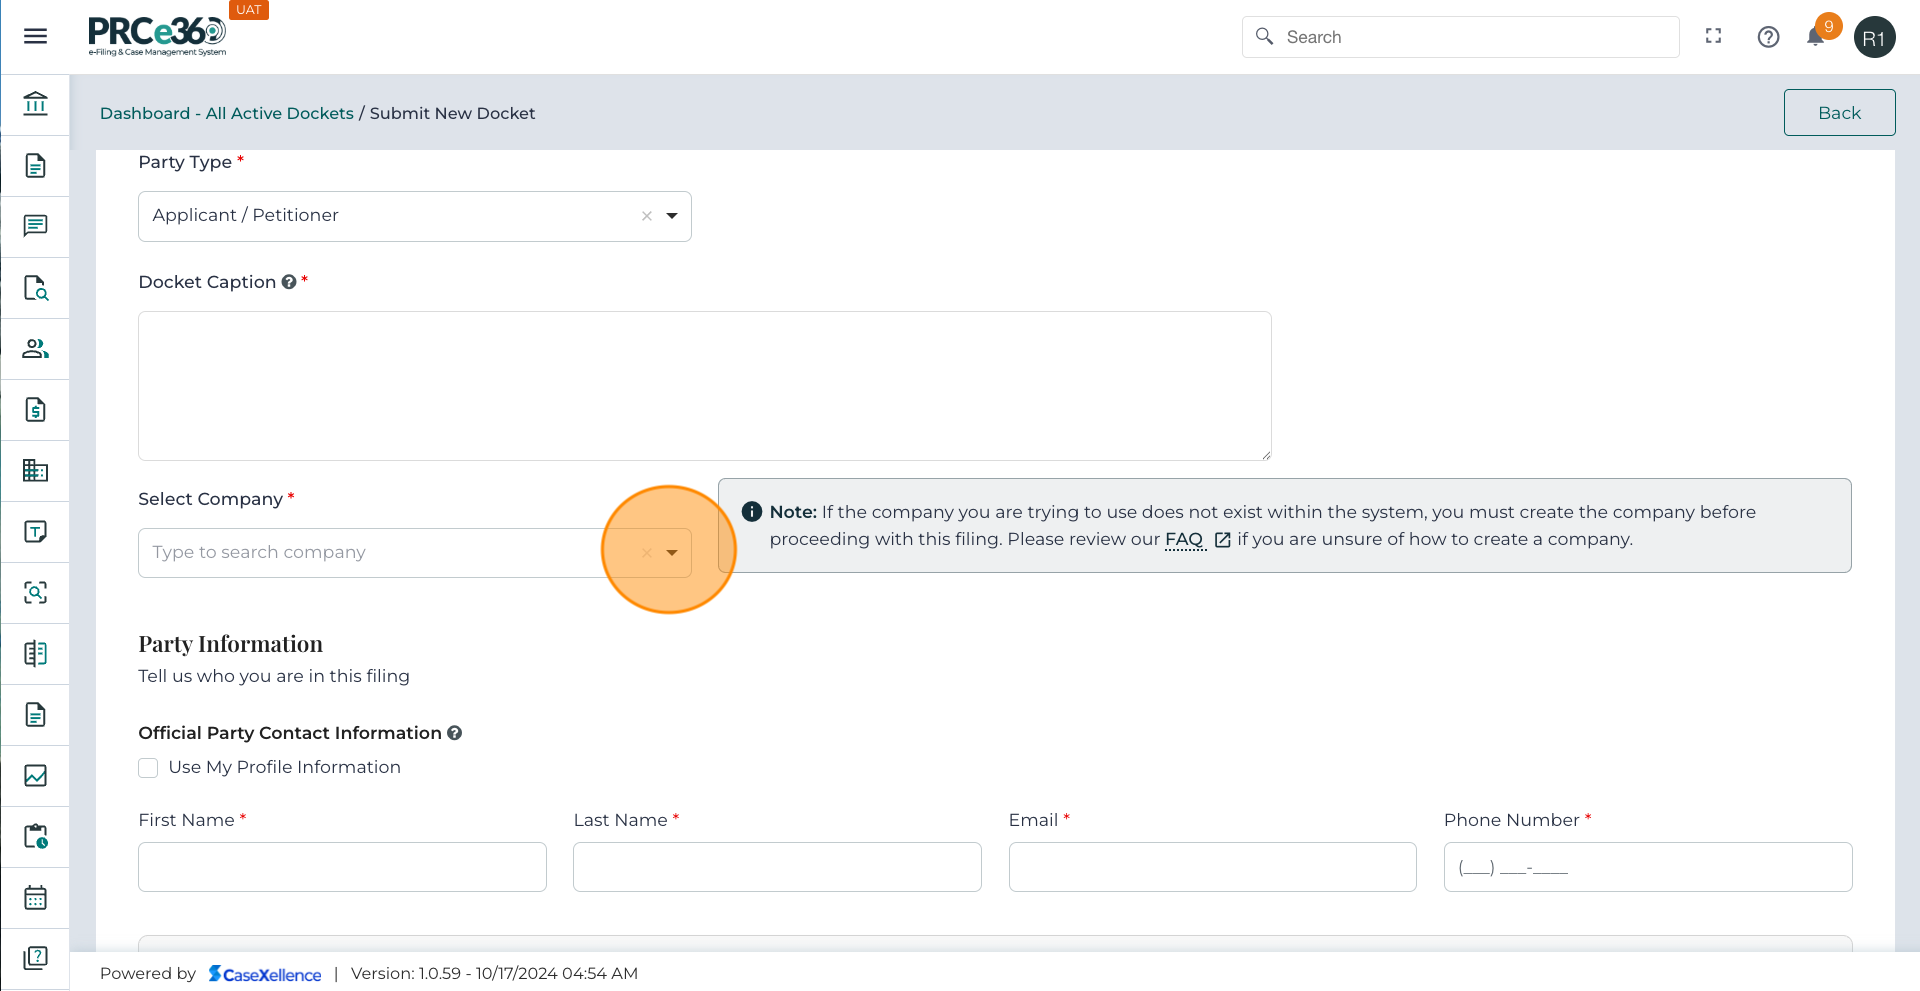
In the Select Company dropdown:
- Display a searchable dropdown of existing companies in the system.
- Choose the company you are filing under.
-
If your company is not listed:
- Click the create link shown below the dropdown.
- You will be redirected to the Company Registration screen. For the detailed flow on Company Registration, see Register New Company.
- Enter all mandatory details about the company, save, and confirm the entry.
- Once the company is created and approved, return to the case creation screen and select it from the dropdown.
Party Information
-
Fill in all the mandatory contact information related to the Party.
-
Review all fields for accuracy before proceeding to the next section.
-
When the user completes the Contact Information section, the system automatically:
- Saves this contact under the Party Tab.
- Associates the contact with the company selected in the previous question.
- Assigns the Party Type = Company Associate.
- Copies the contact information to the Service Notification Tab, where it is displayed but cannot be edited directly.
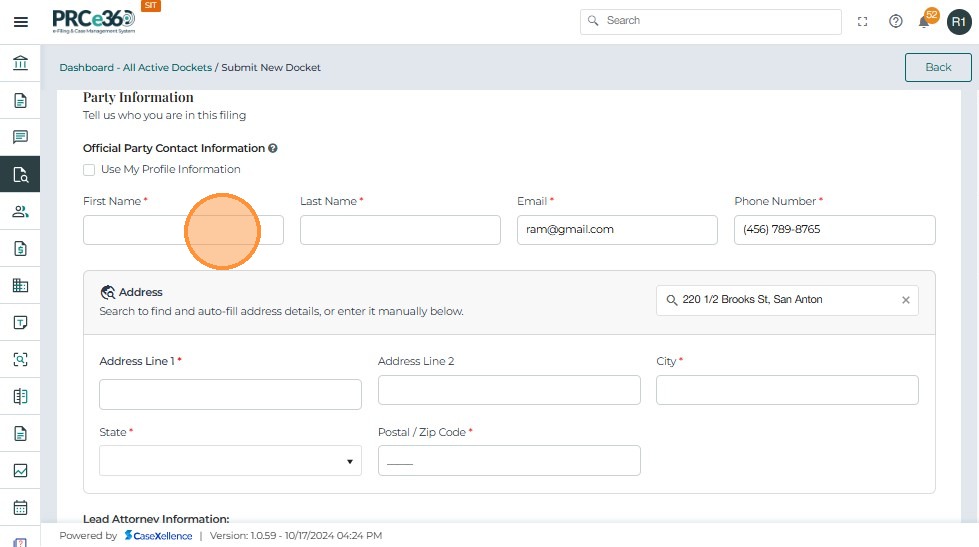
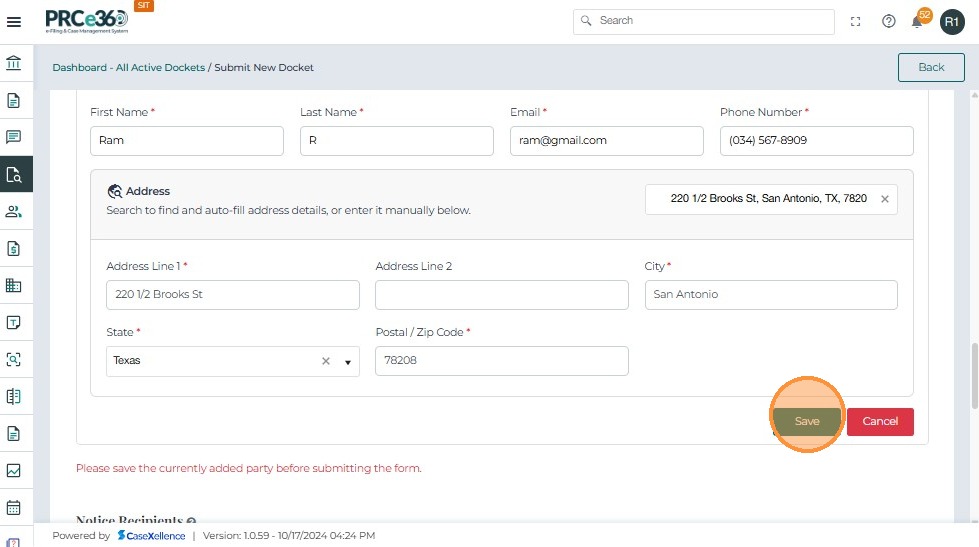
- When users start typing an address in the Address Search field, the system automatically provides suggestions based on input.
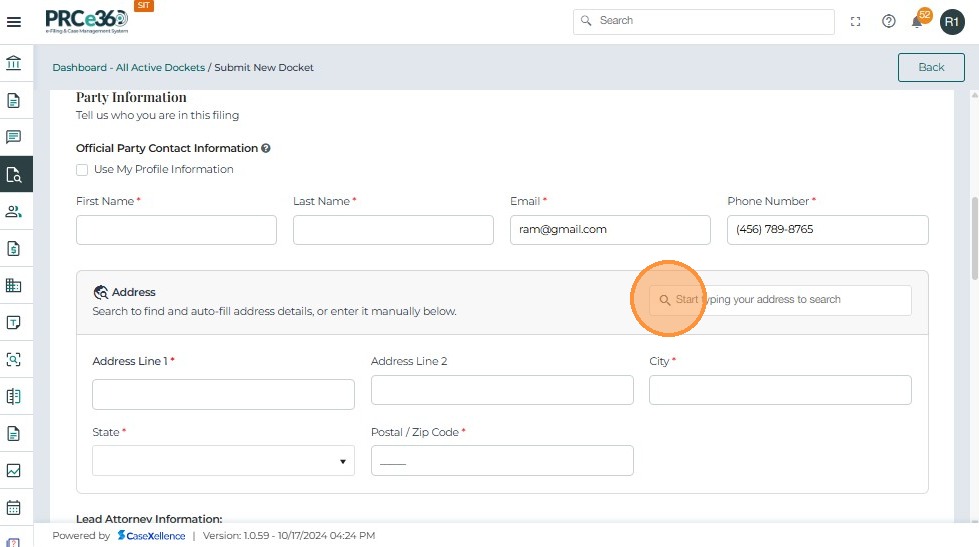
- Users can select the correct address from the dropdown list.
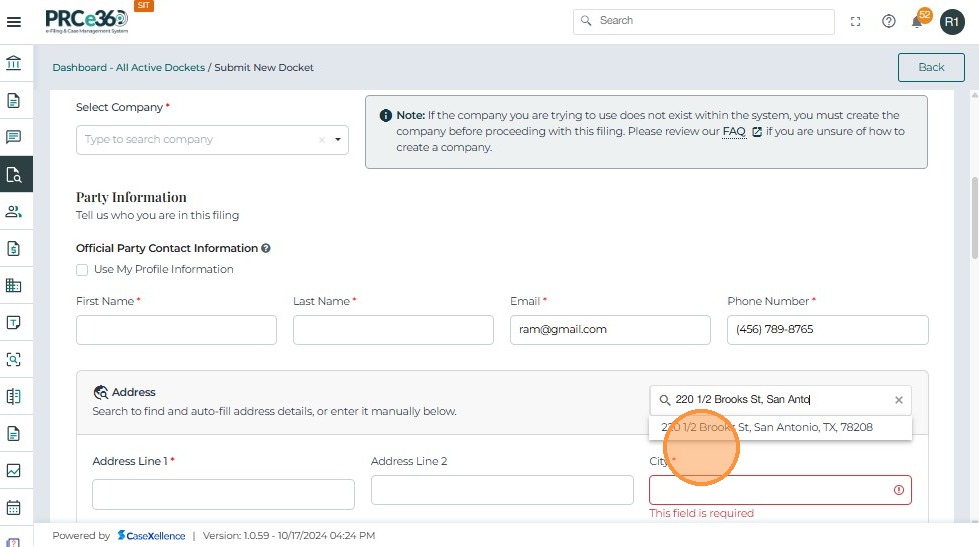
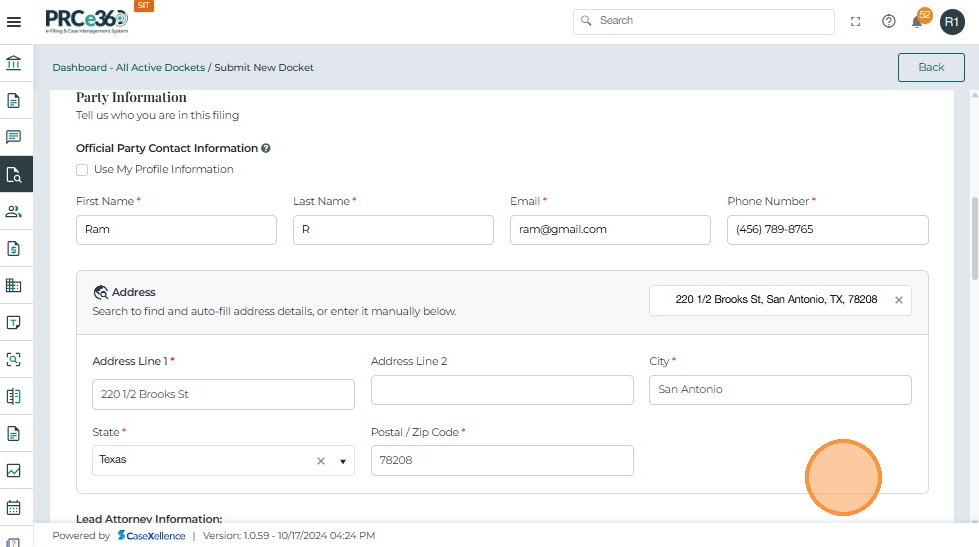
-
Upon selecting an address: Address Line 1, City, State, and Postal/Zip Code fields are automatically populated.
-
Users can still manually edit Address Line 2 if needed.
- If the user wants to use the Logged in Profile details on the Party information then Select the checkbox.
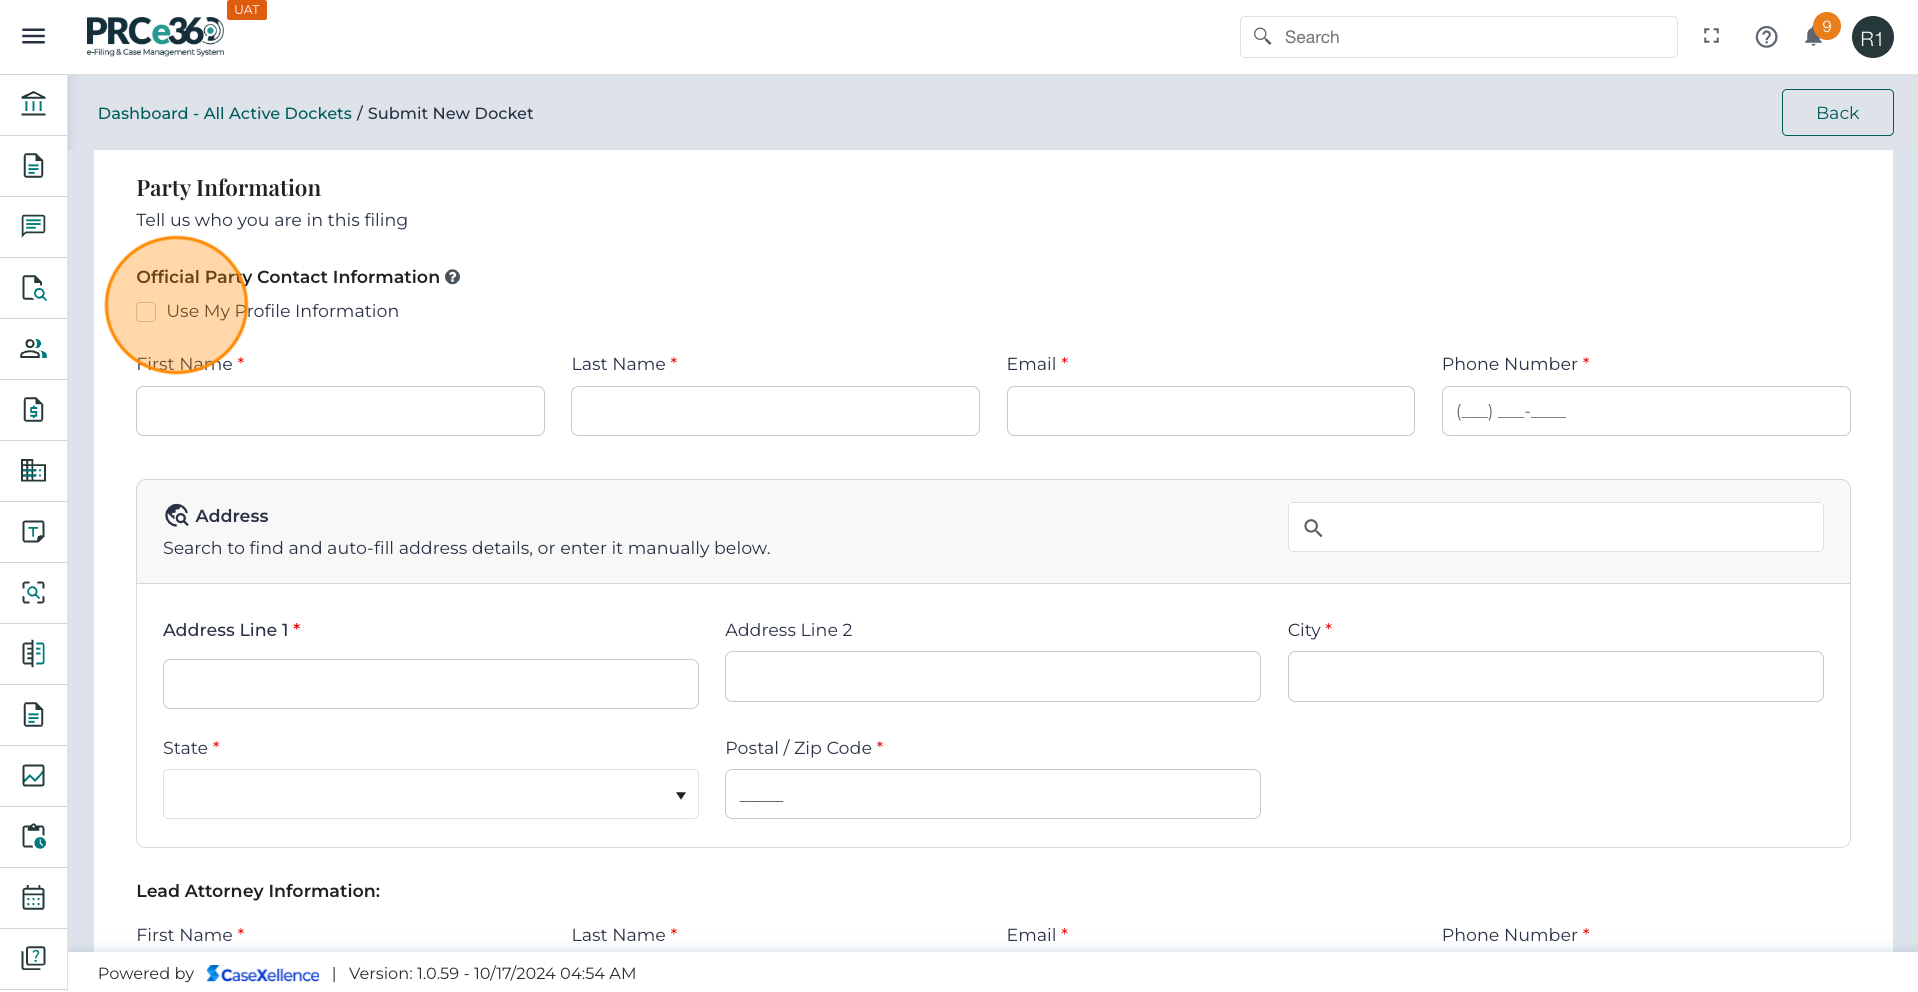
- The logged-in user details will be autofilled.
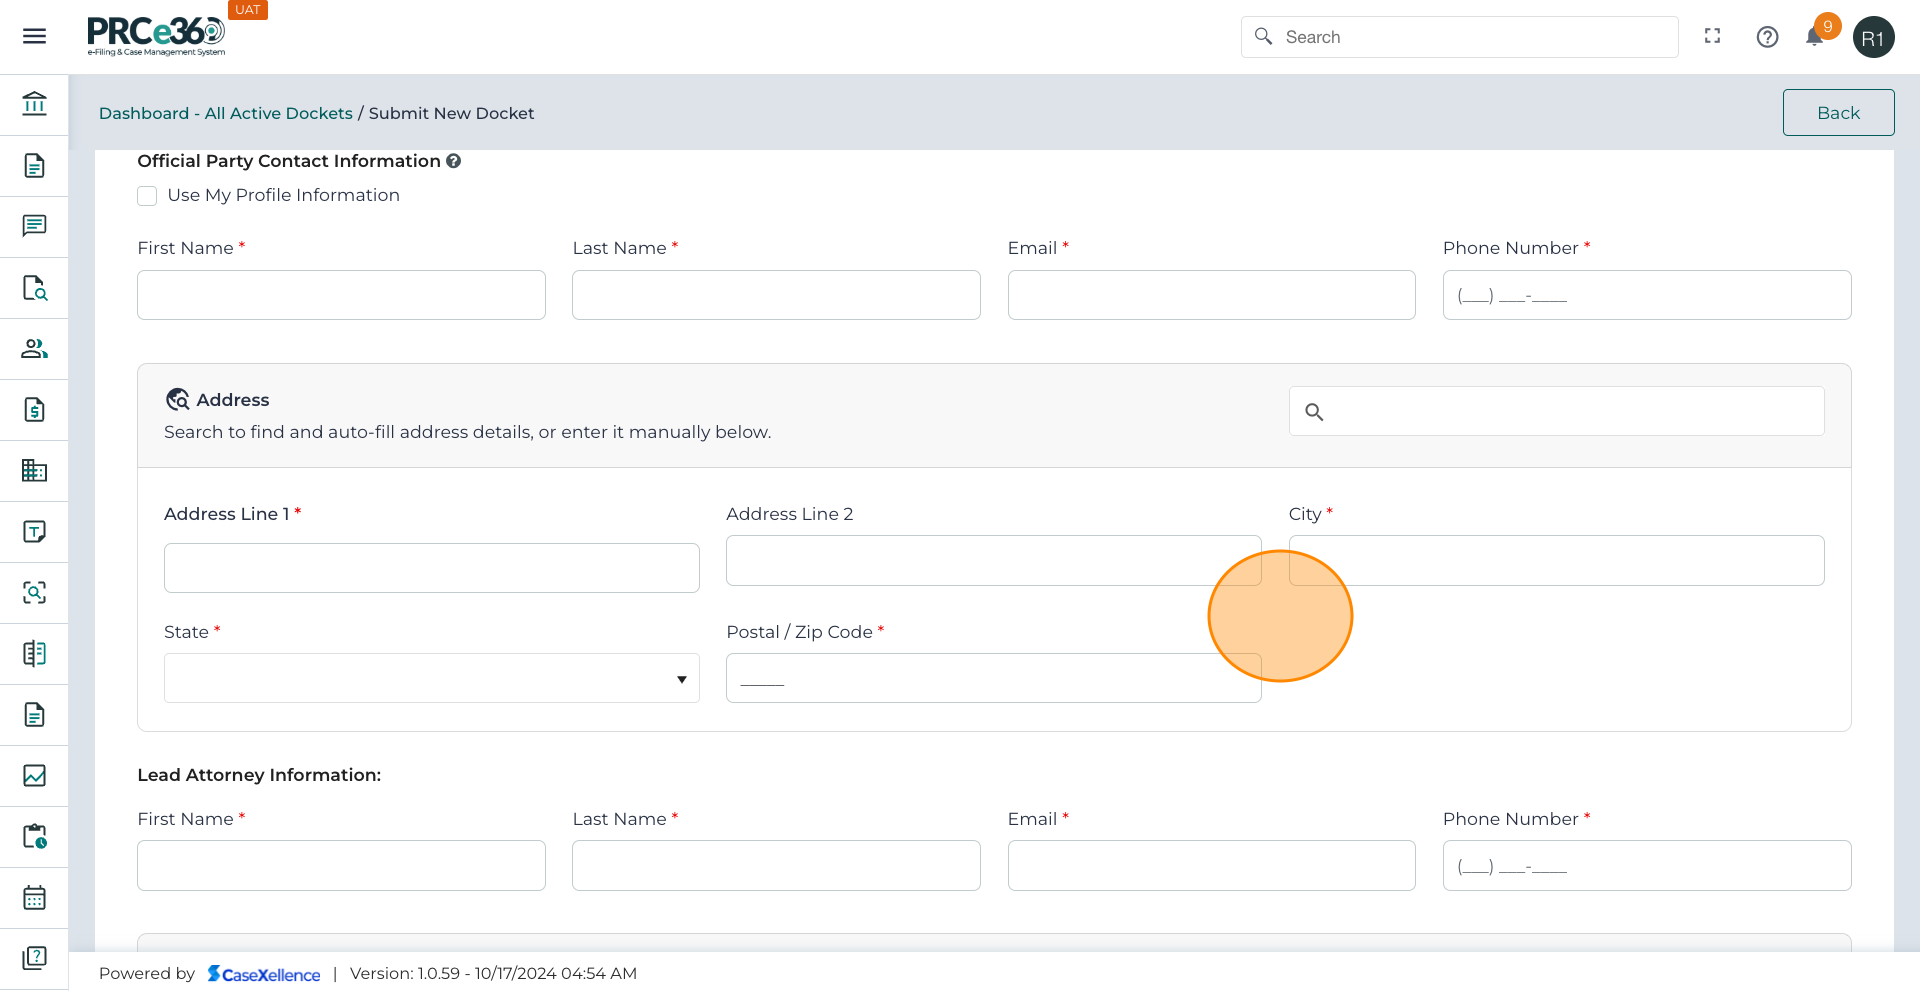
-
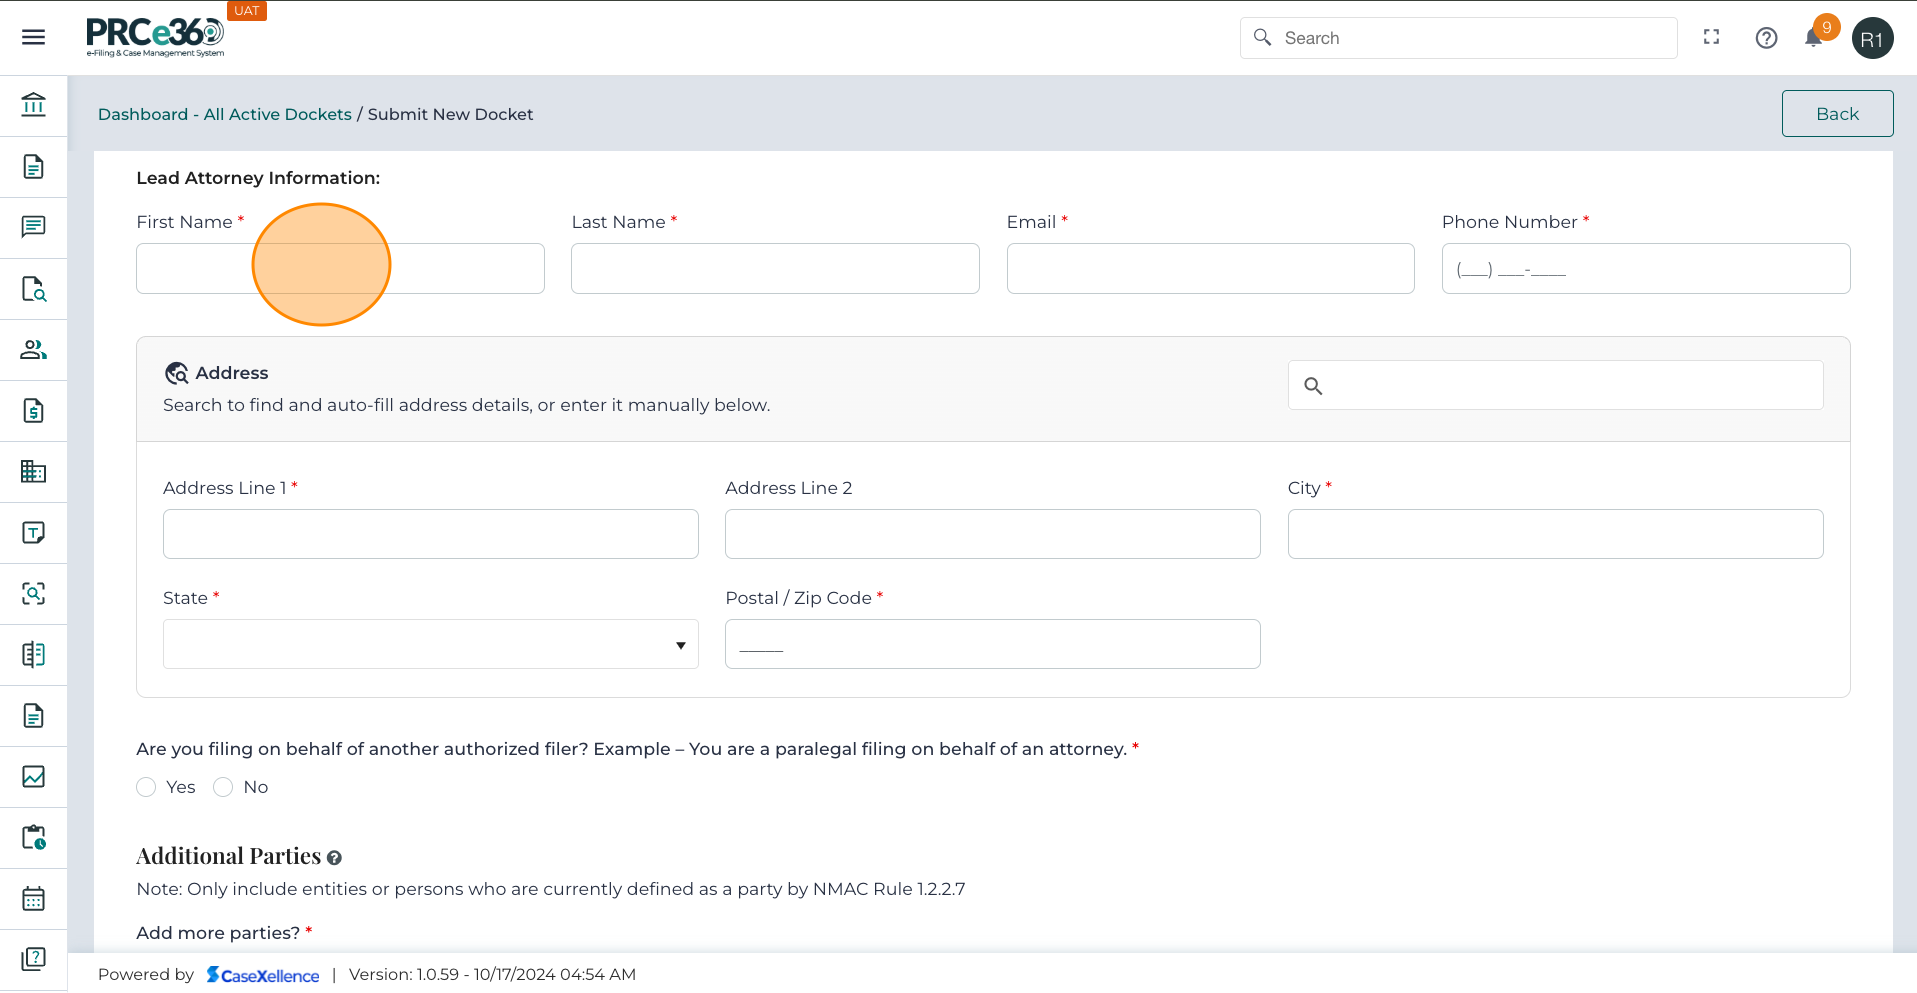
If your filing involves an attorney, enter their full contact details in the required fields.
-
Verify that the email is accurate, as all case-related communication will be sent there.
-
The user can use the similar address search option to search the address and autopopulate the fields based on selection.
-
When Lead Attorney information is entered:
- The system saves this record to the Party Tab and associates it with the same company selected.
-
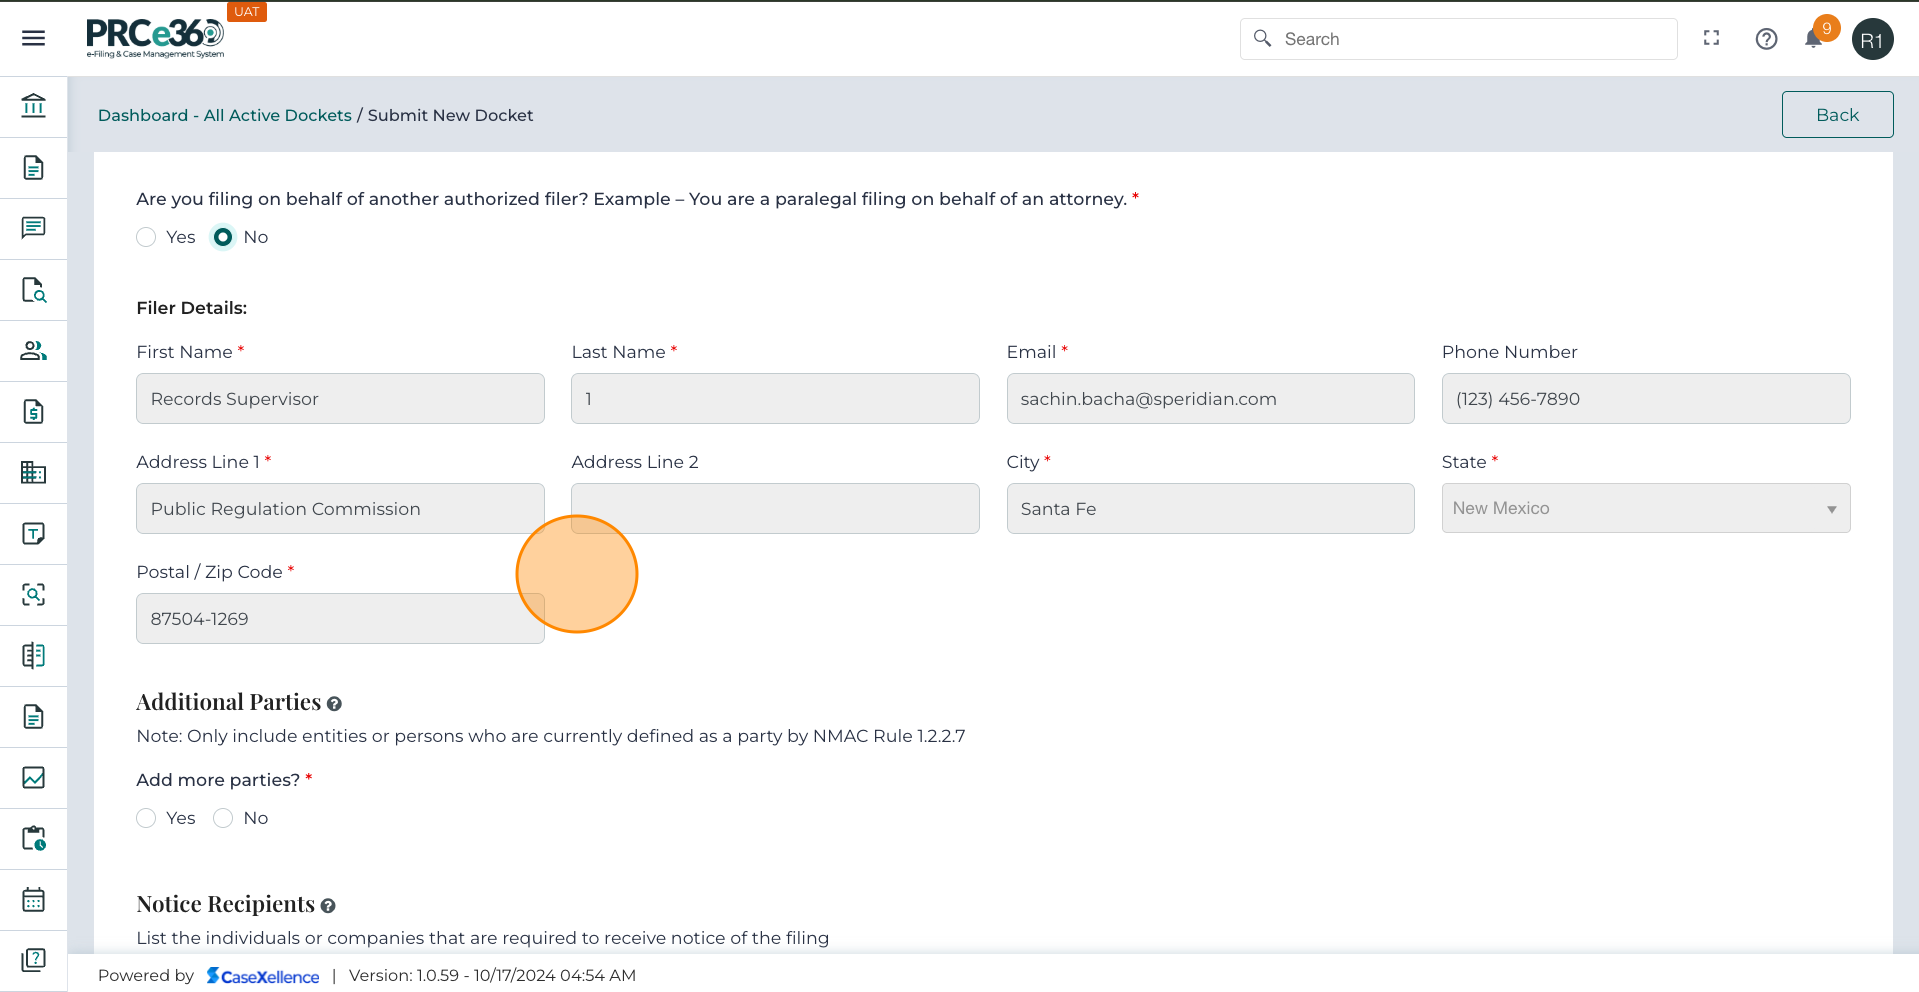
Select whether you are filing this docket on behalf of another authorized filer, such as a paralegal submitting on behalf of an attorney.
- Select No if you are the filer.
- Select Yes if you are filing on behalf of someone else.
-
If No is selected, the user themselves will be the filer:
- The system displays user Filer Details.
- Verify the following information, as the data will be auto-filled.
- Make corrections if necessary.
-
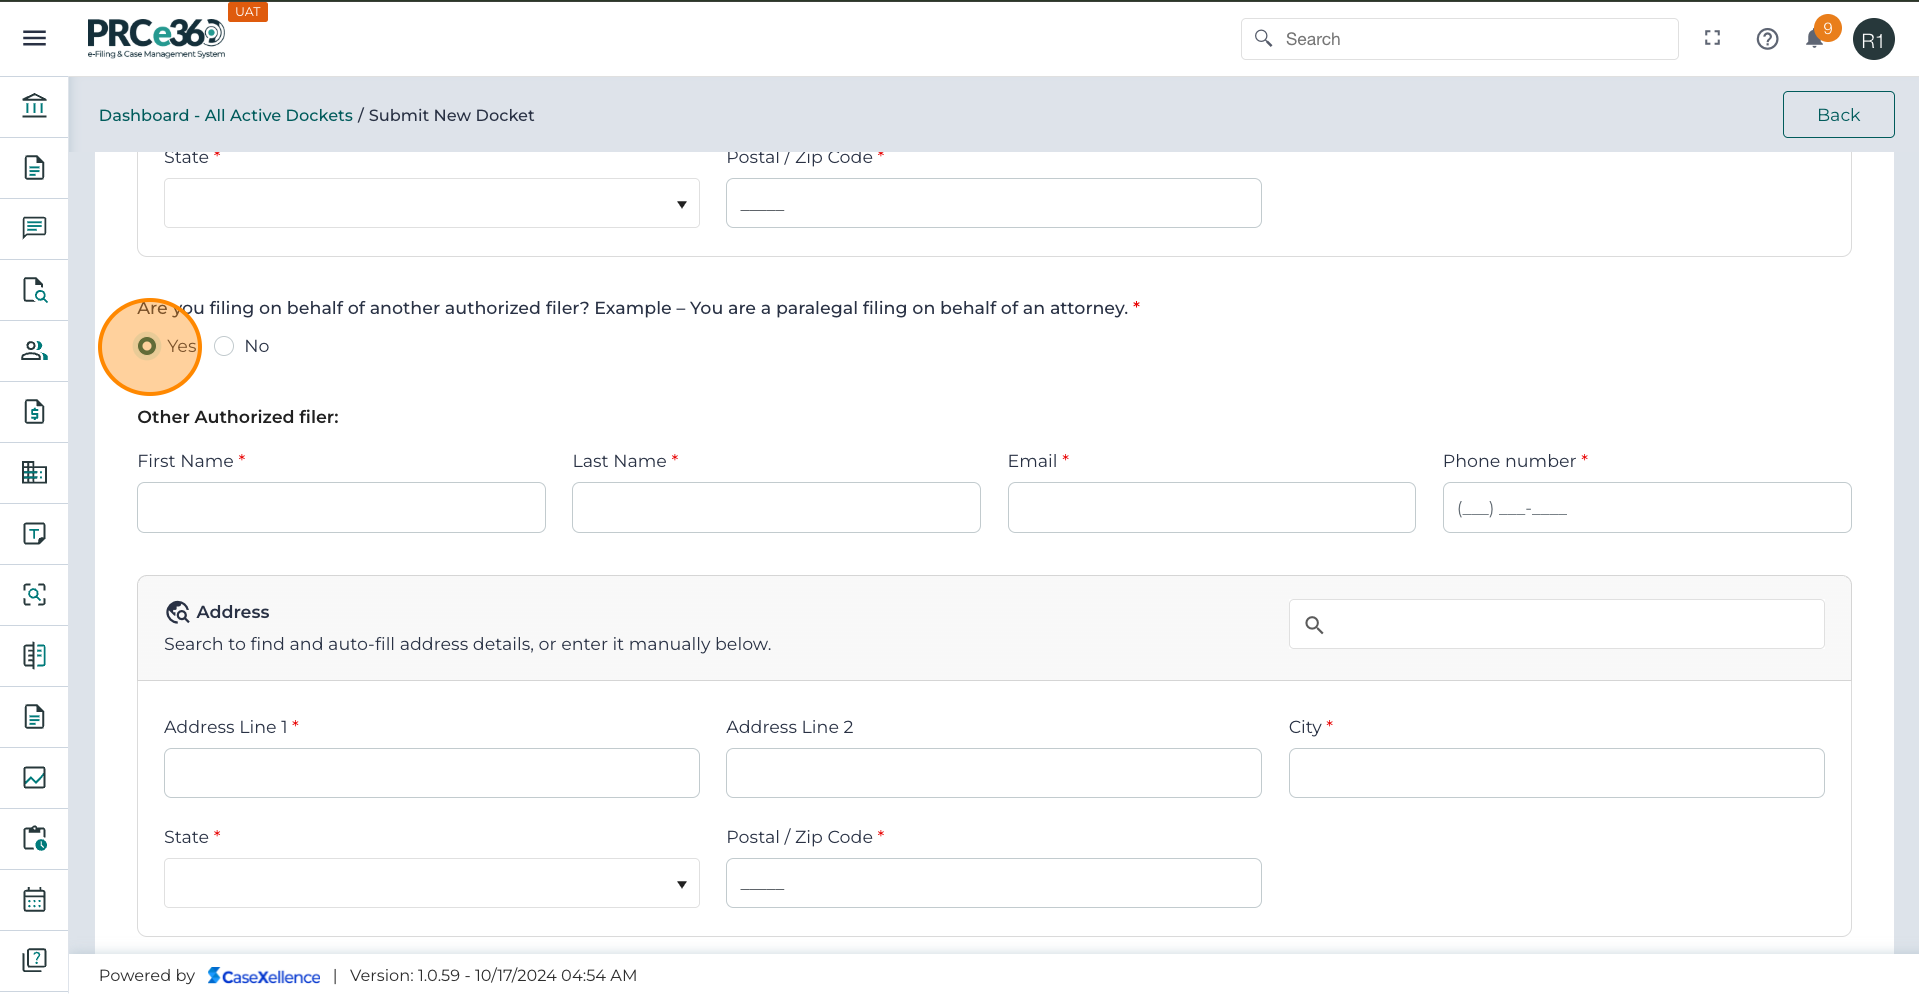
If Yes is selected (Filing on Behalf of Another Authorized Filer):
- Complete the Other Authorized Filer form.
- Ensure the information is accurate, as this person will be recorded as the filer of the case.
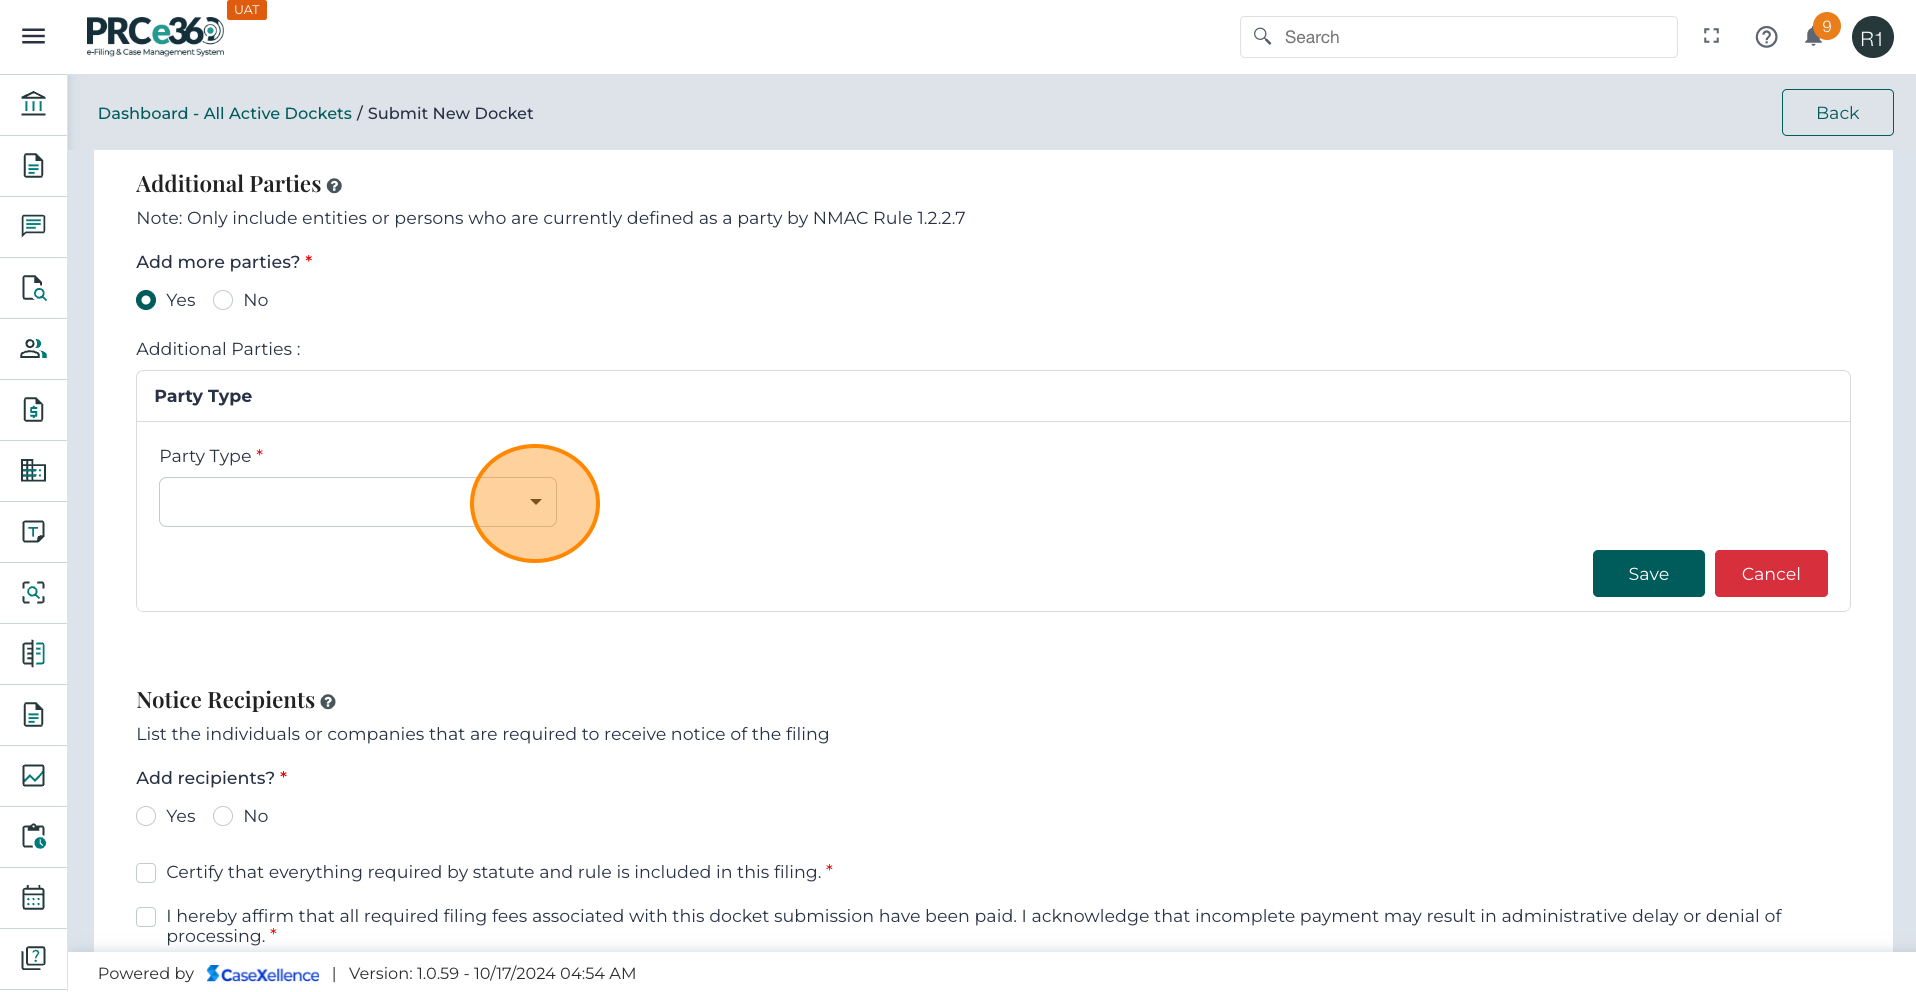
Additional Parties
- Select Yes if another Party is to be added, and select No if there are no additional parties.
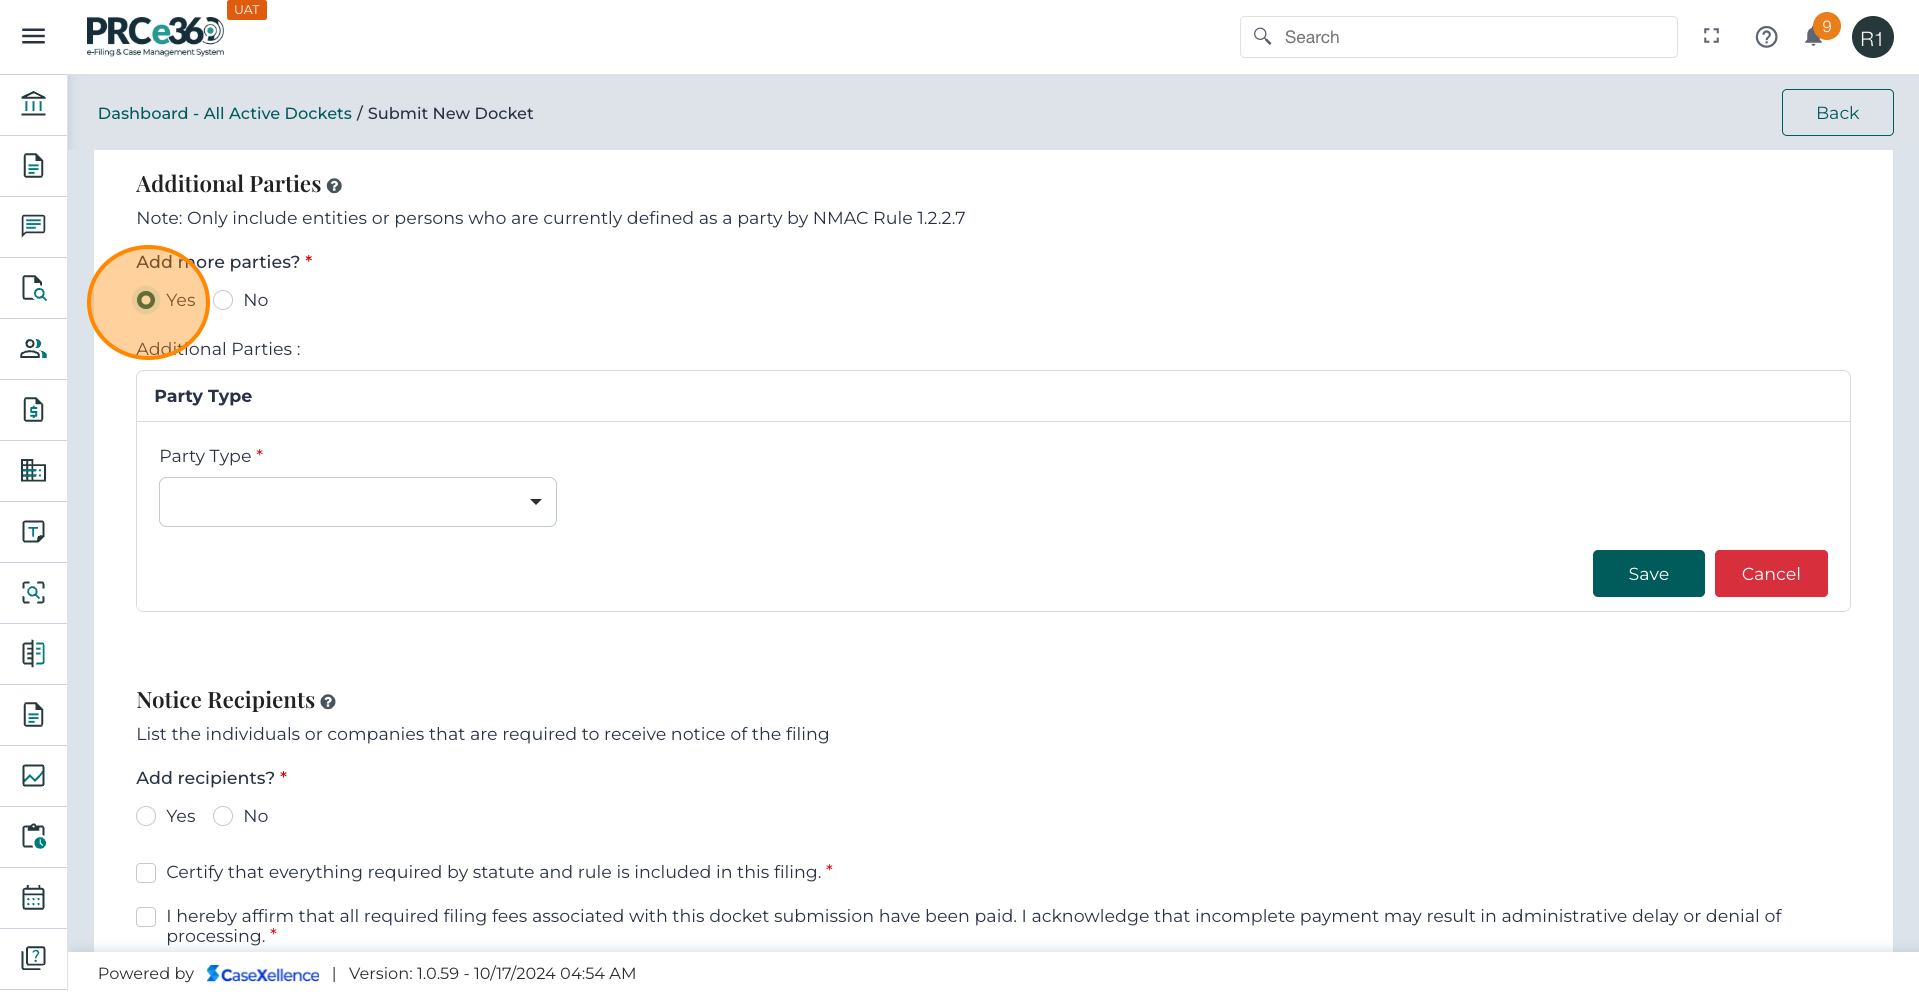
-
If you select Yes, the Additional Parties form appears.
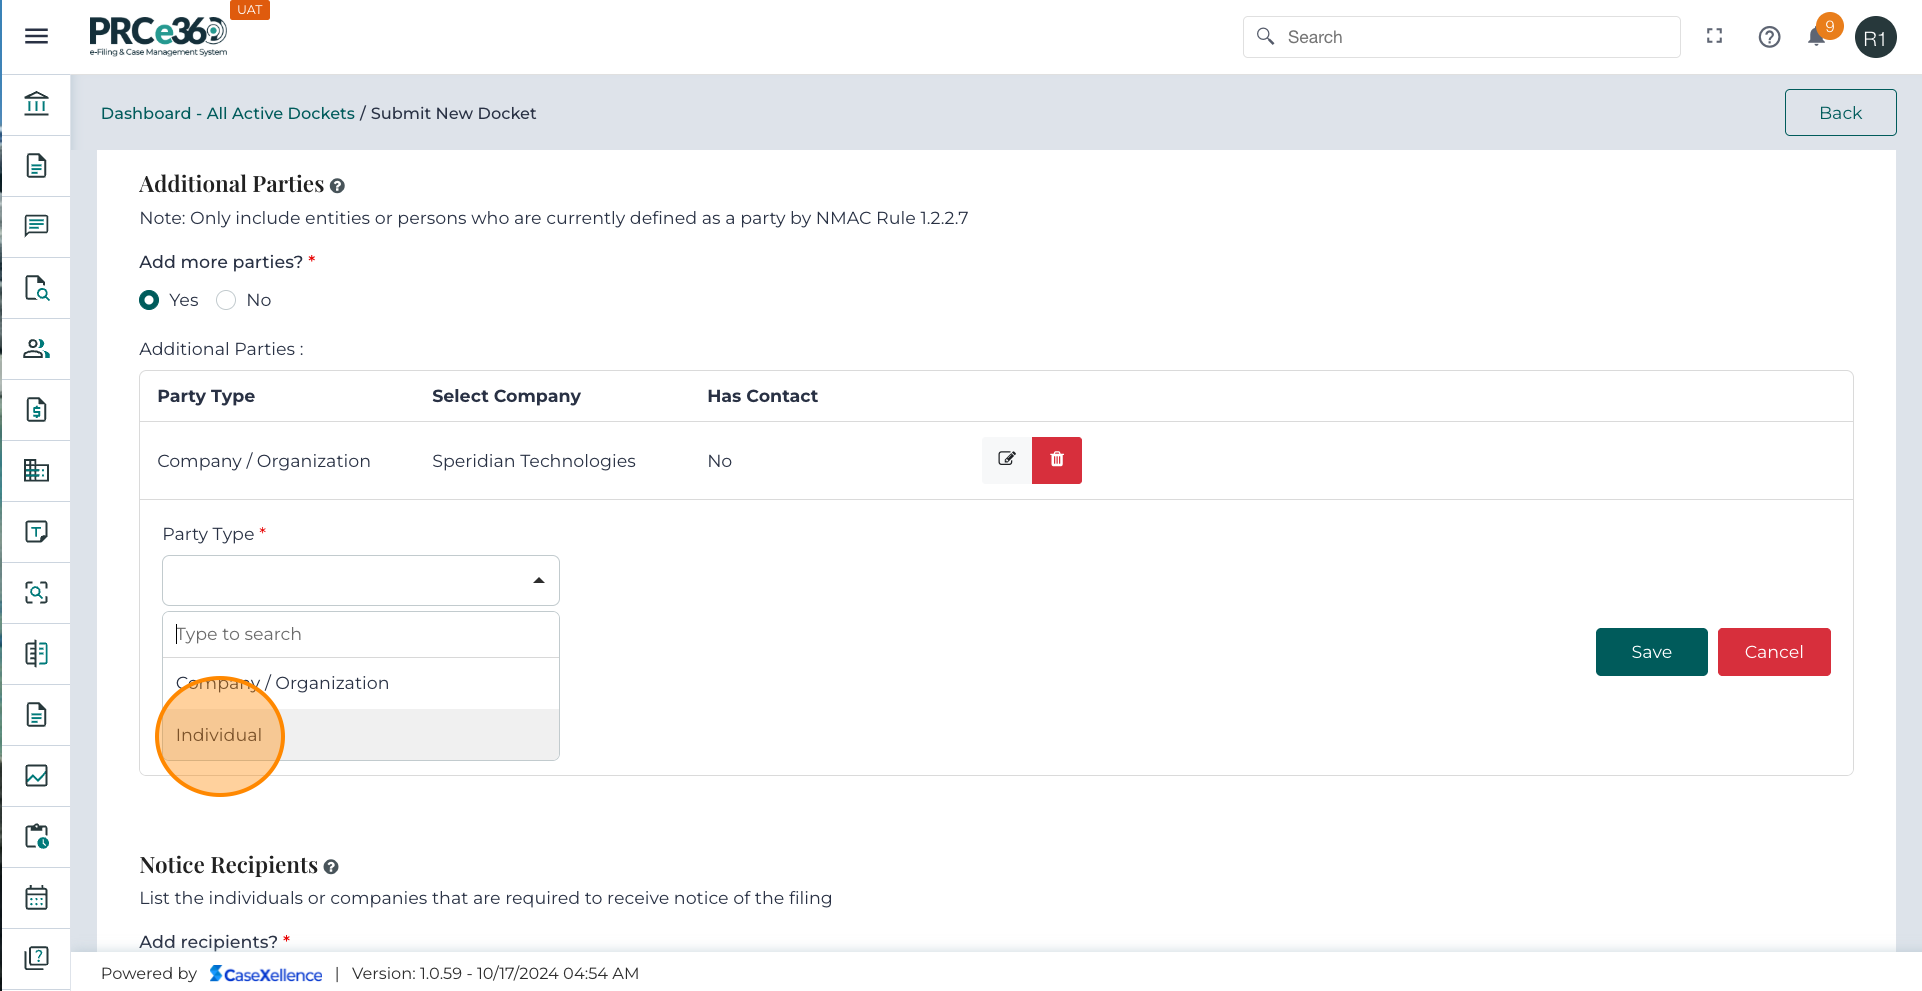
- Party Type – Select Individual or Company.
- If Company: choose the company from the dropdown list. If not available, you must first create the company record.
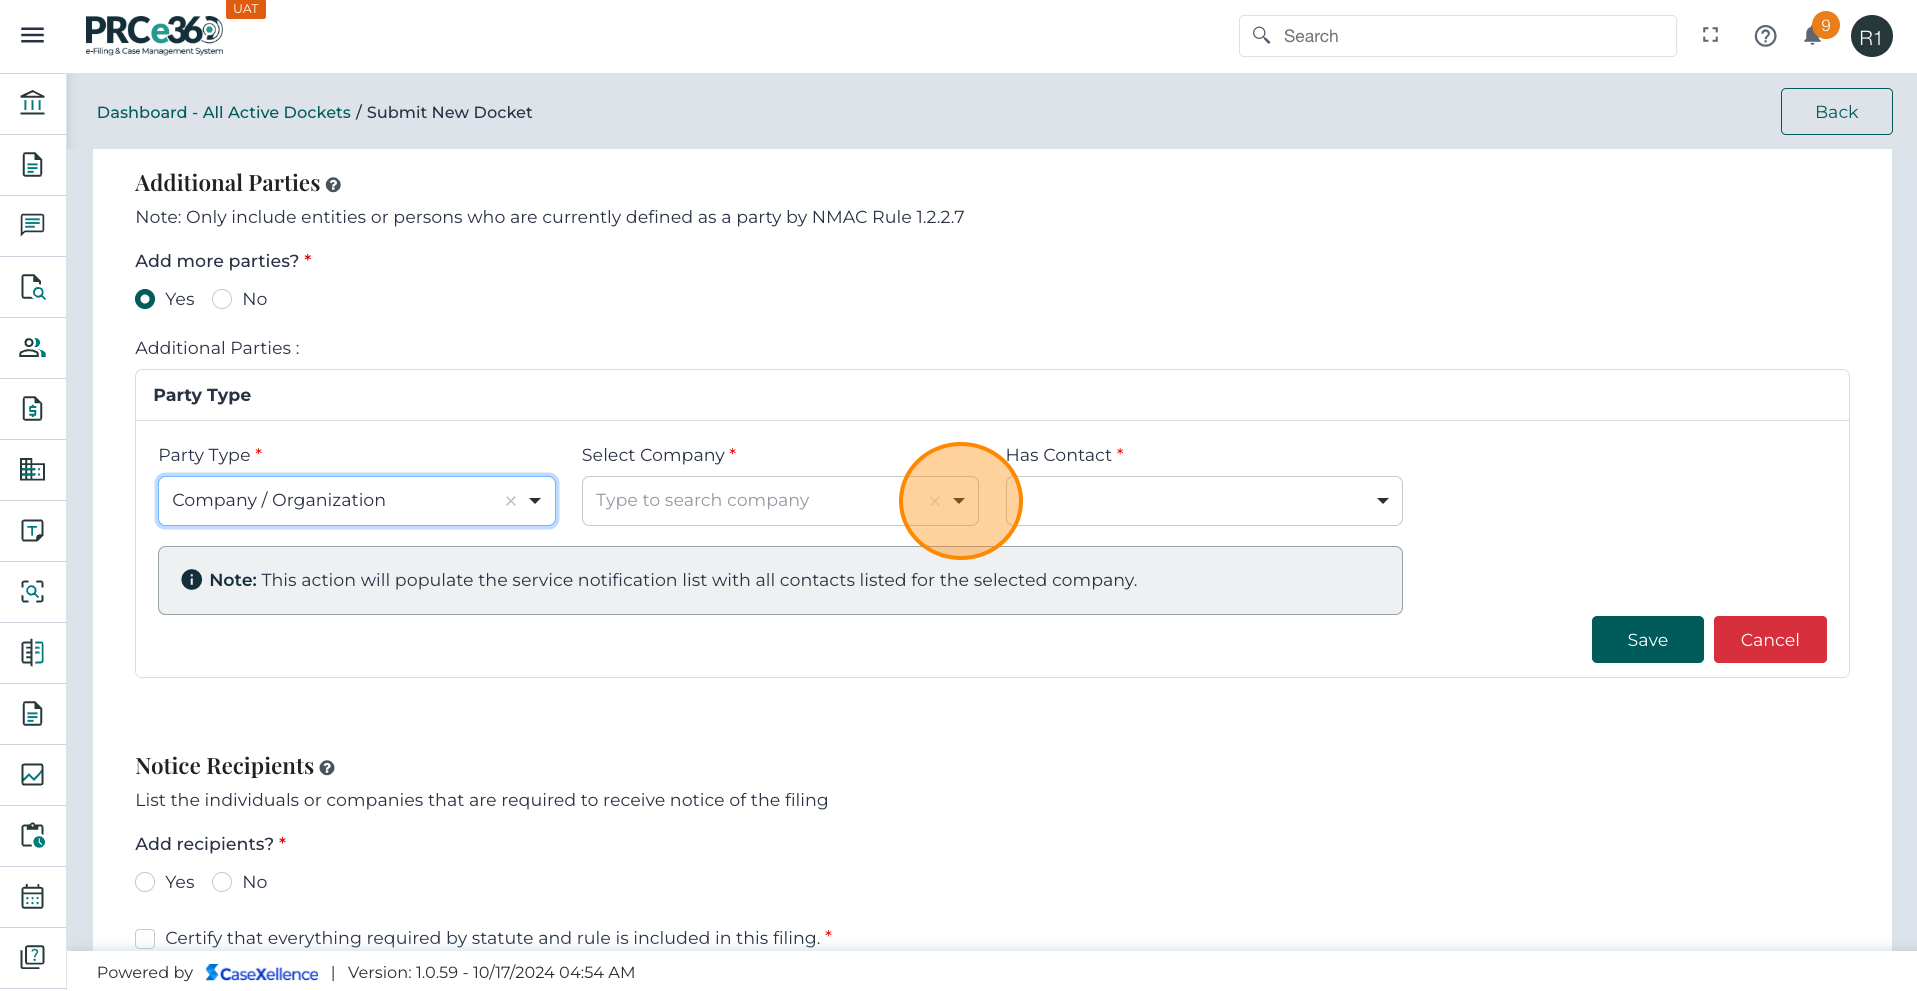
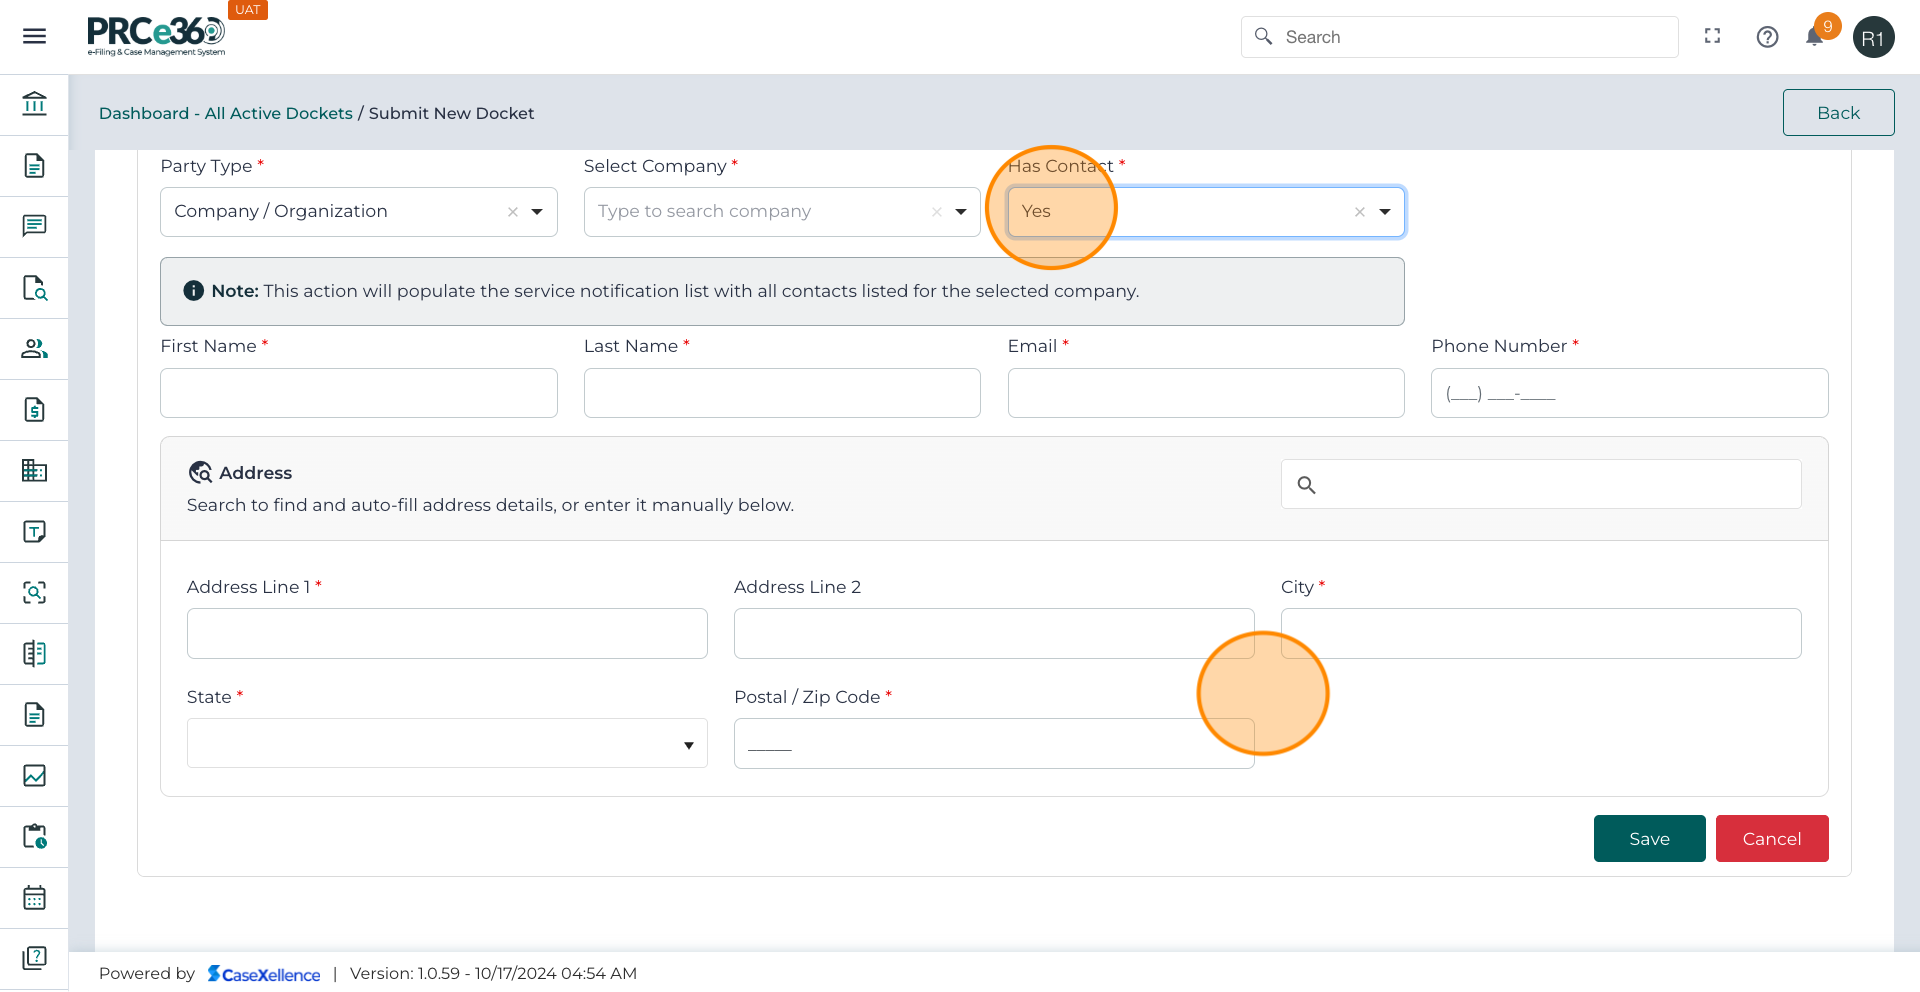
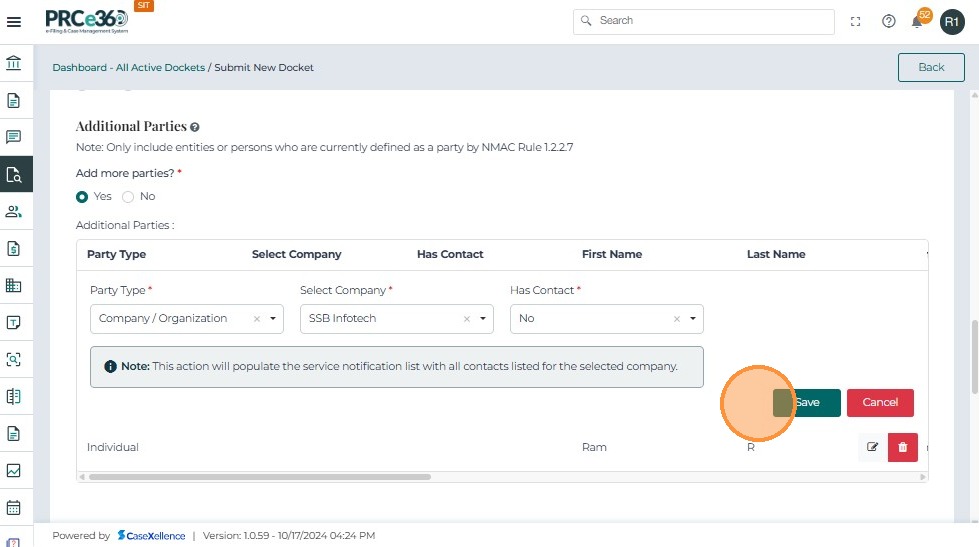
- When the user selects Yes from the Has Contact dropdown,The system expands additional required fields to capture the contact person's details for the selected company.
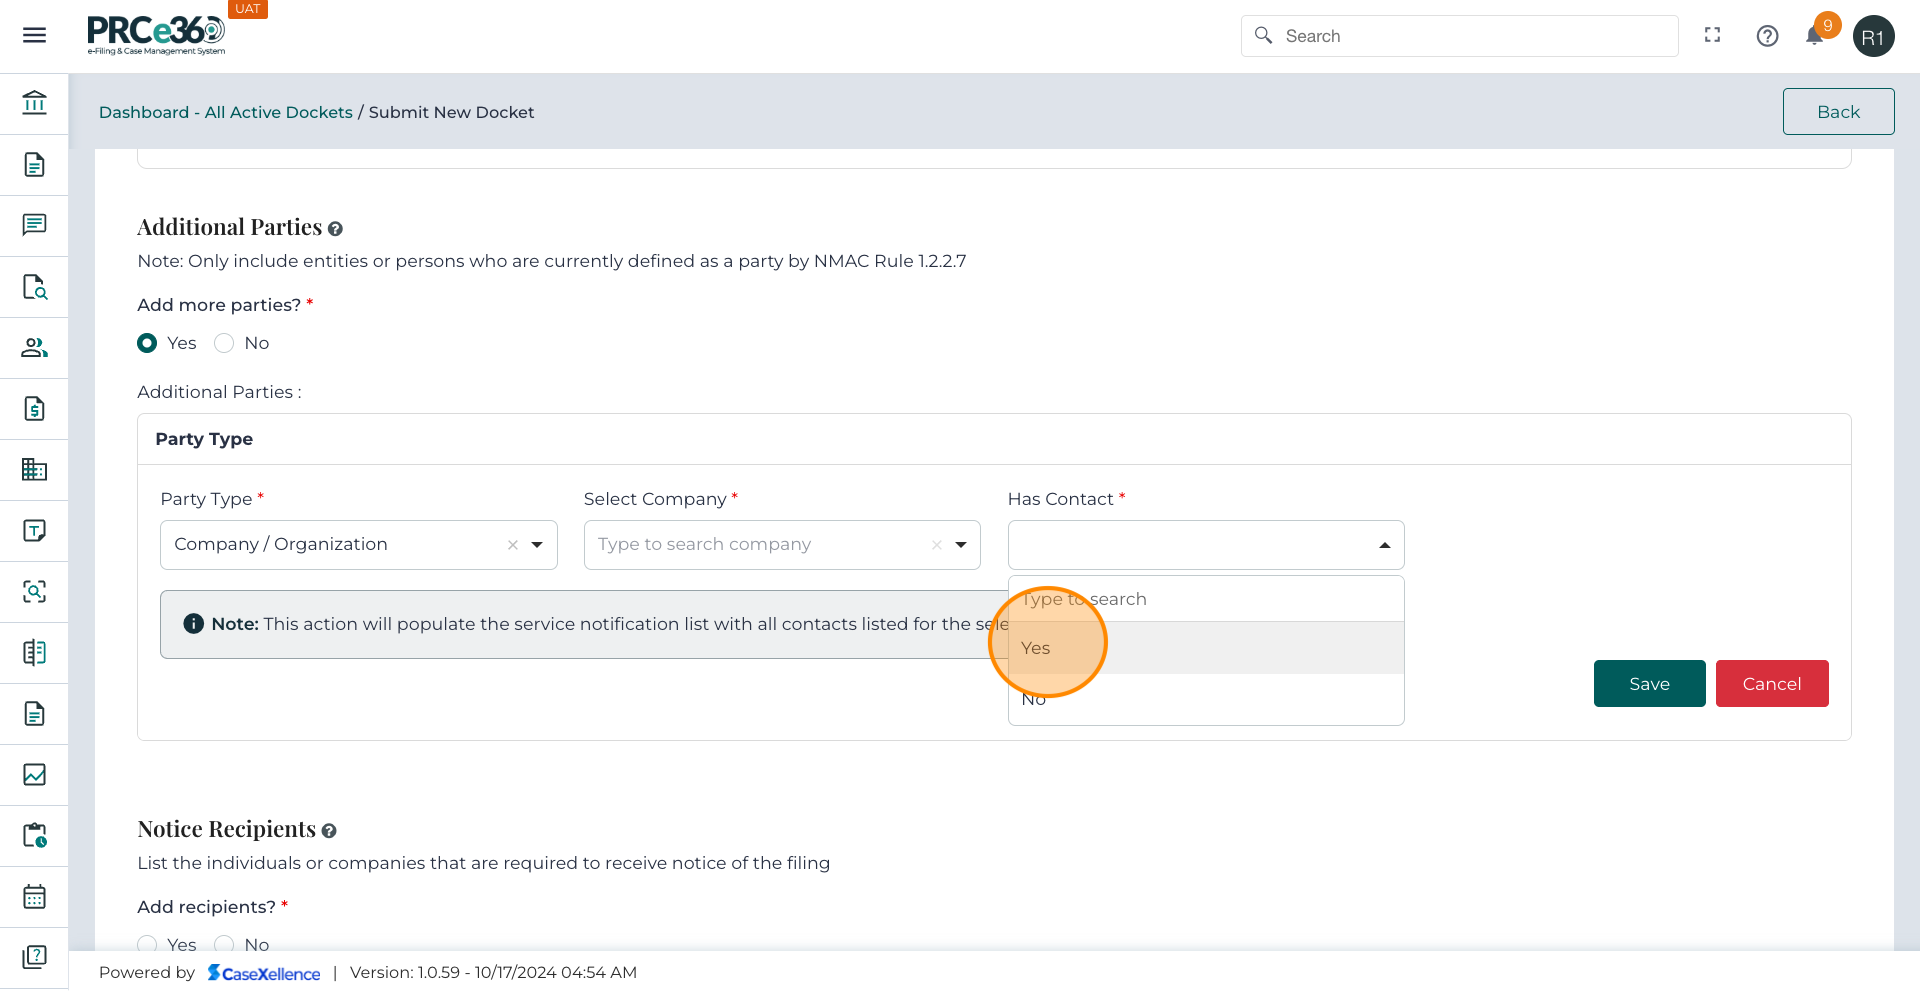
- The contact information fields become visible and mandatory to fill the data.
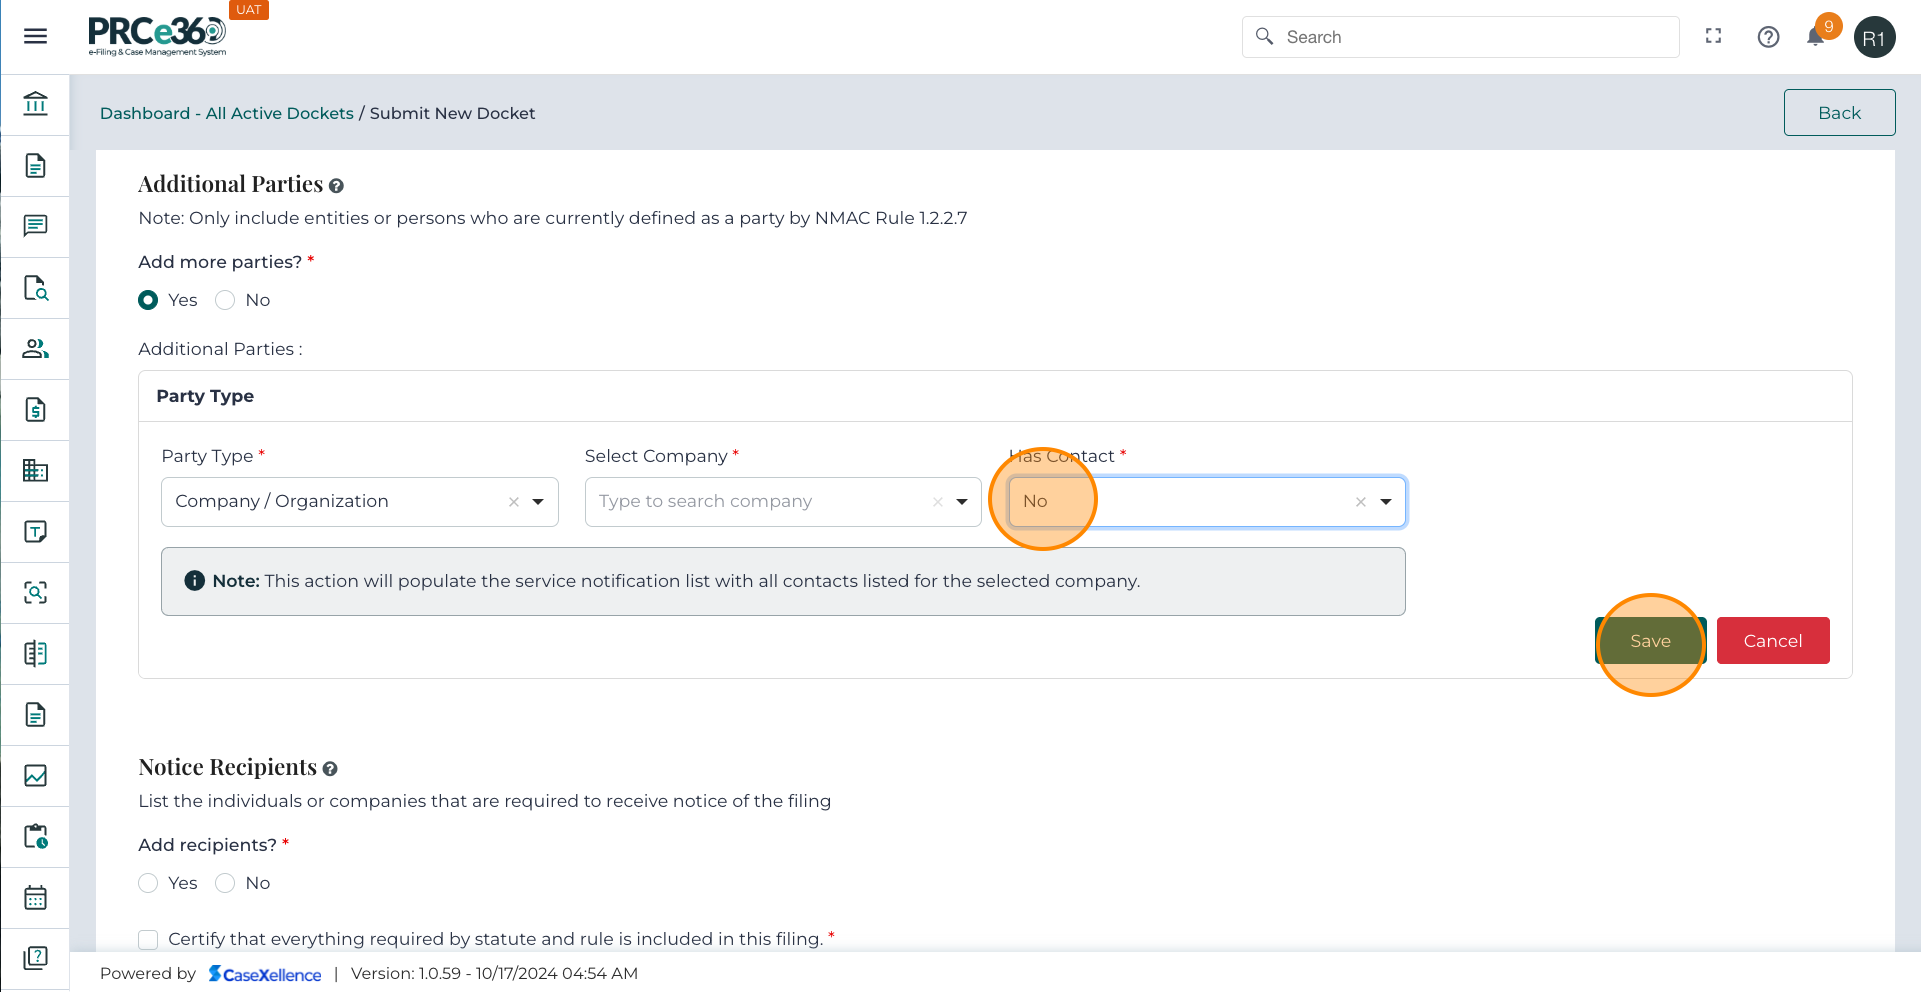
- When the user selects No from the Has Contact dropdown, The contact information section remains hidden.
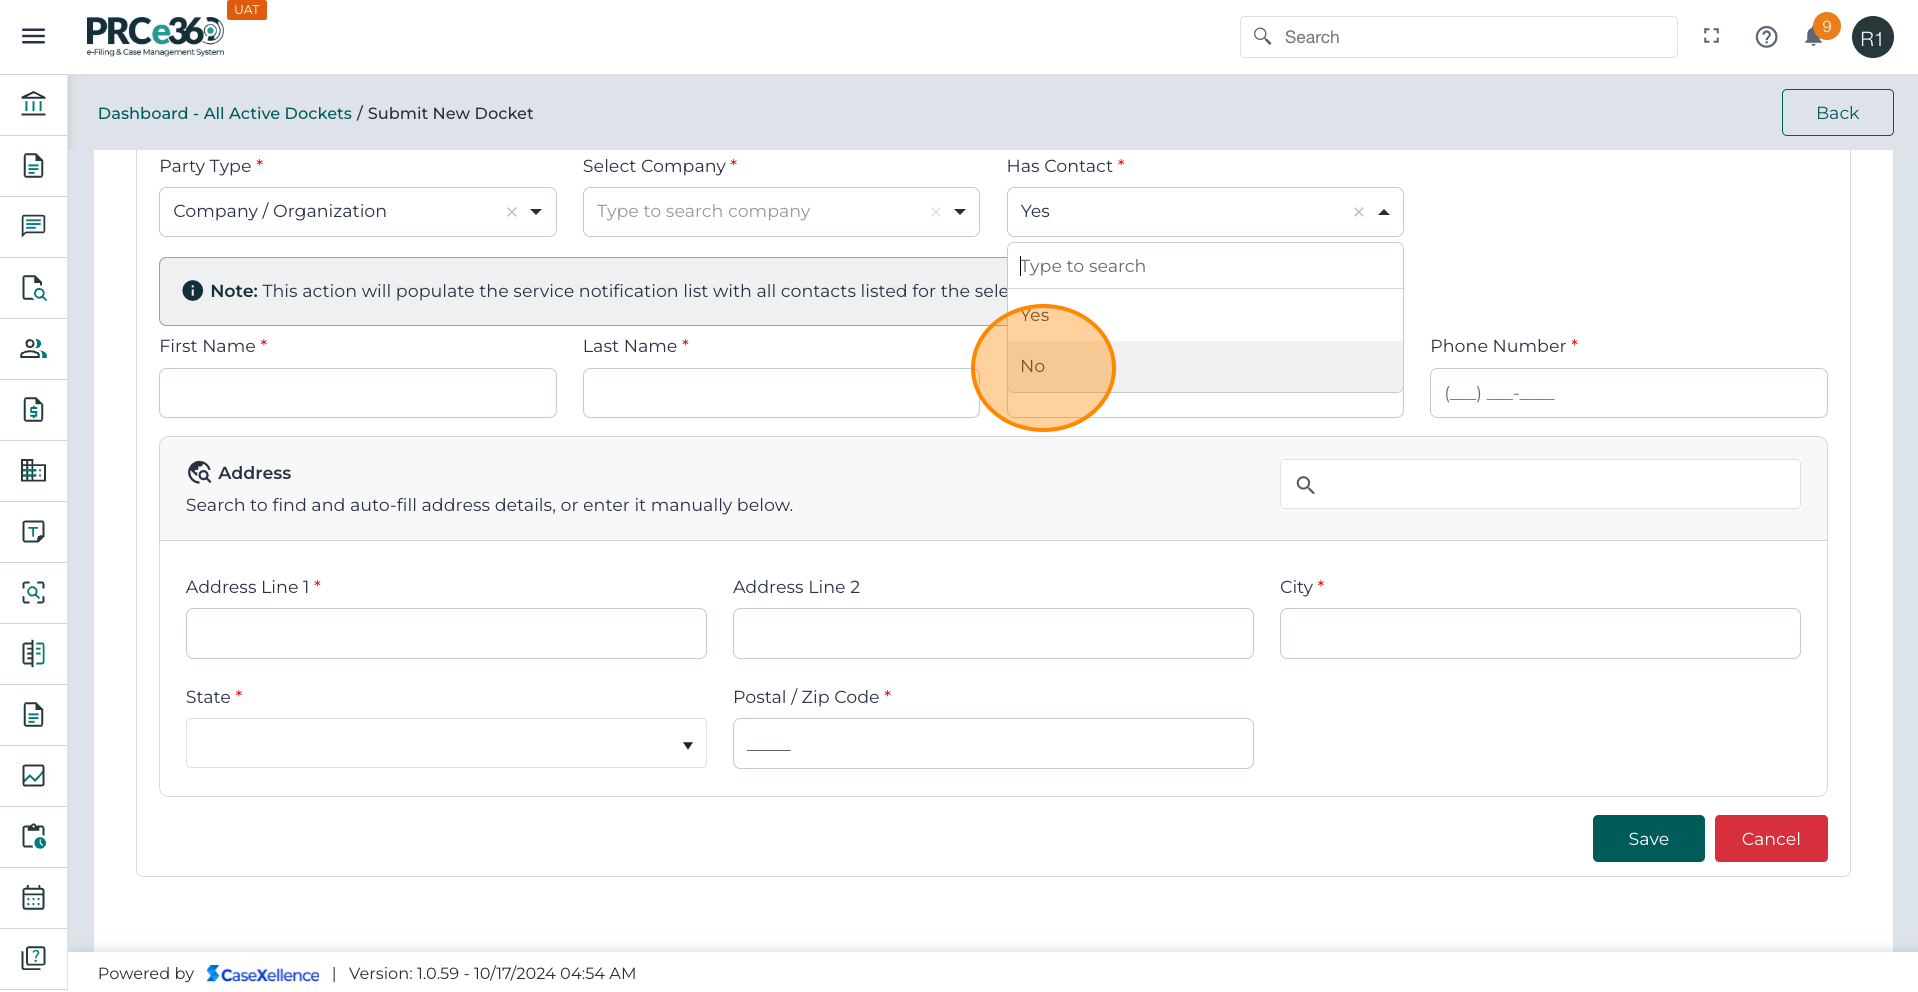
- After choosing “Yes” or “No,” users must click Save.
-
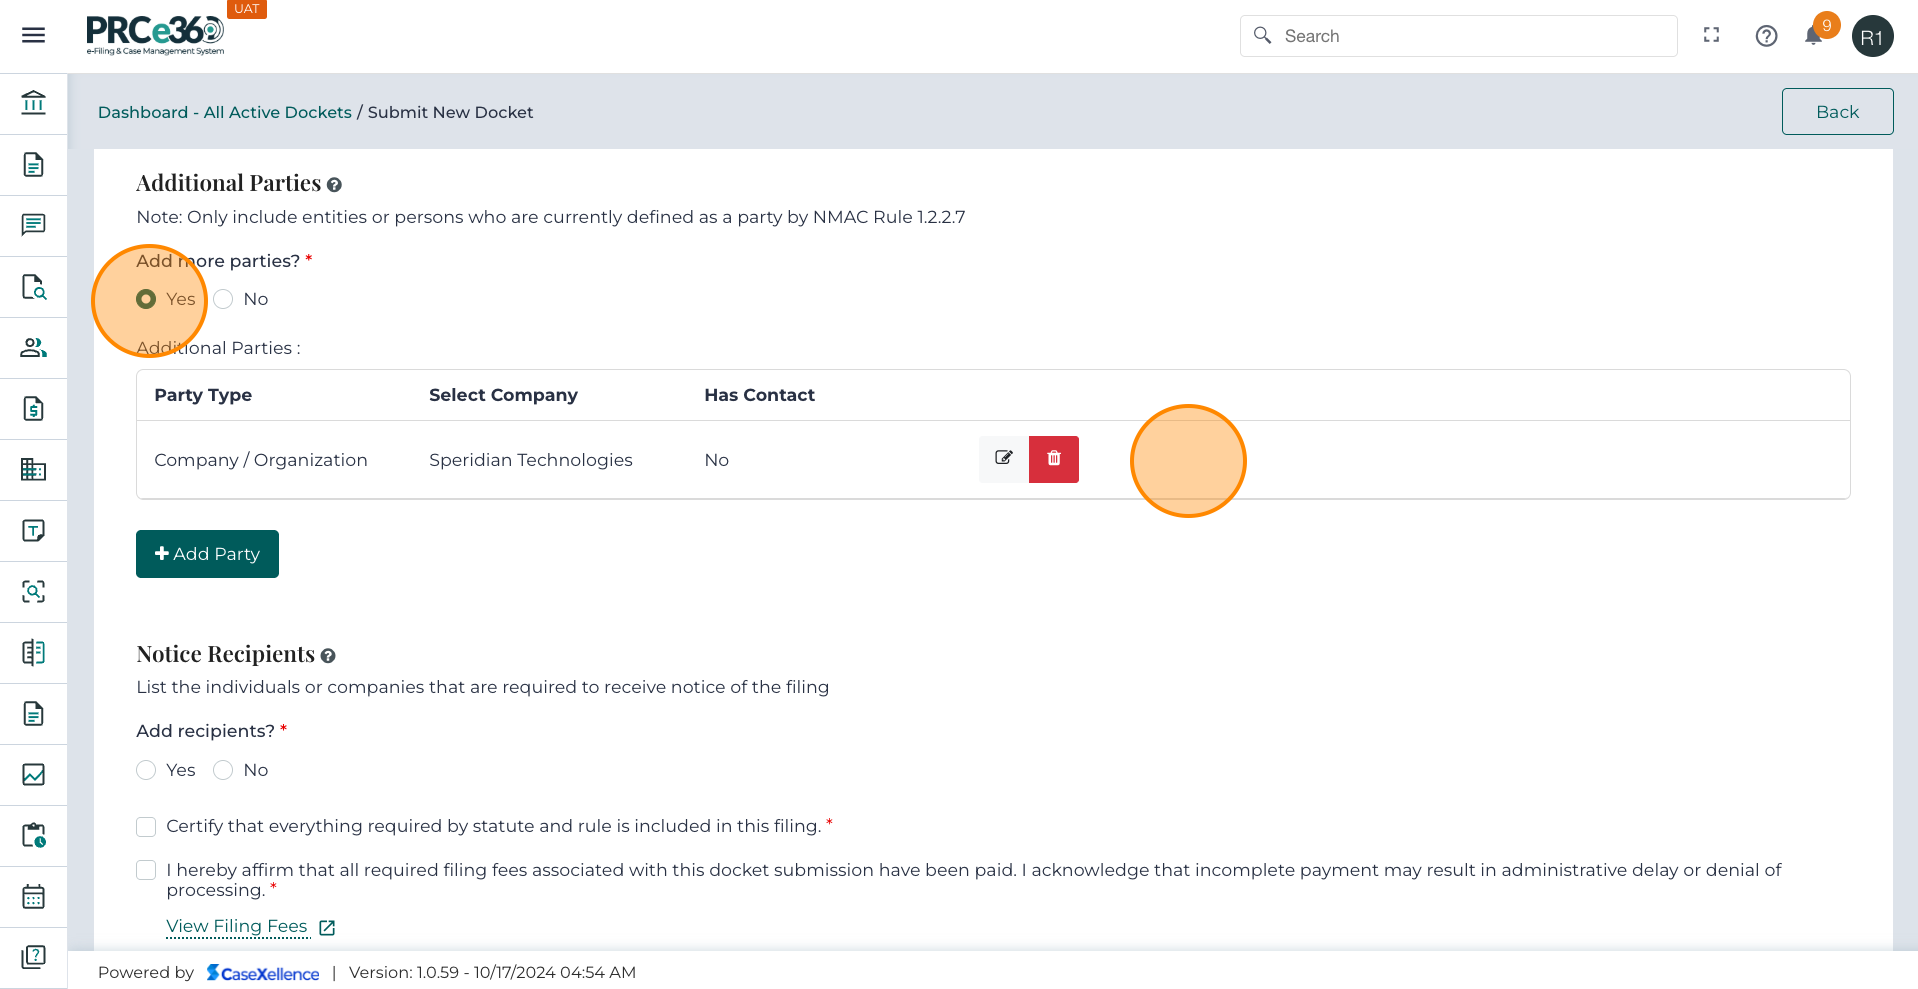
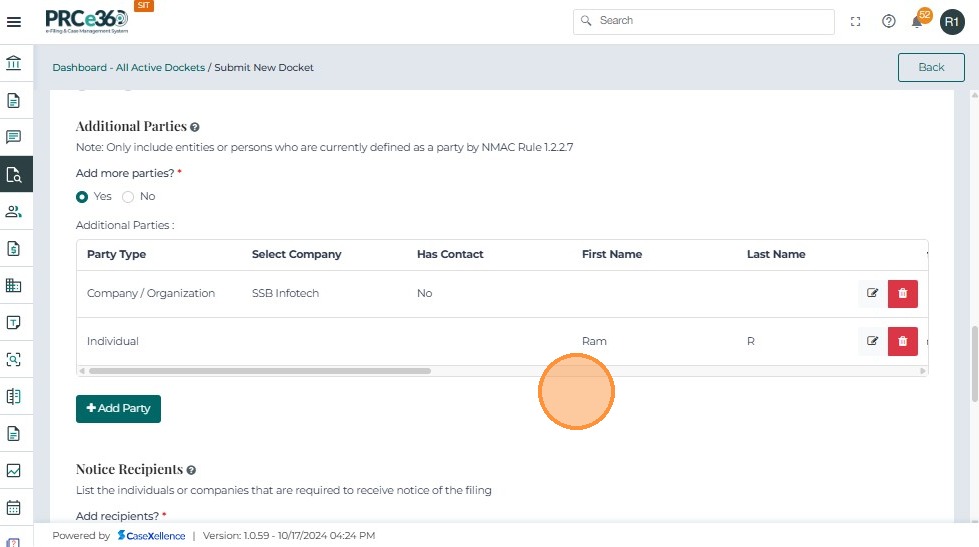
The saved party appears in the Additional Parties table showing:
- Party Type
- Company Name
- Has Contact (Yes/No)
-
Users can Edit or Delete the entry using the respective icons.
- If Individual: enter First Name *, Last Name *, Email *, Phone Number *, Address Line 1 *, City *, State *, and Postal Code *.
- Users can also search for the address and select from the dropdown, which will autopopulate the remaining fields based on the selection.
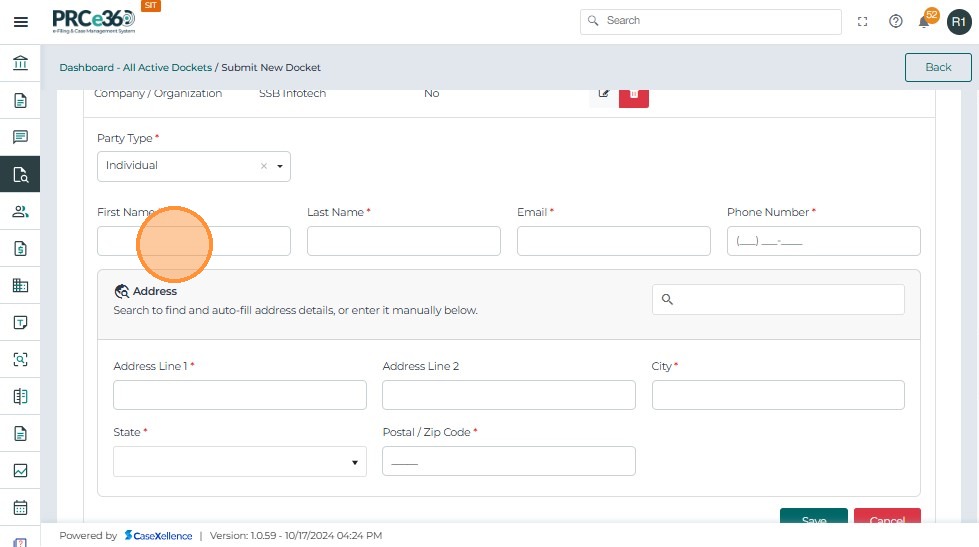
- Once details are entered, click Save to add the party.
-
Once a party (Company or Individual) is added and saved, it appears in the Additional Parties table.
-
Use + Add Party to include multiple additional parties.
-
Click Cancel if you wish to discard the entry.
-
Clicking Delete removes the selected party from the list.
-
Once deleted, the party will no longer be included in the case submission.
-
Clicking Edit reopens the party details in editable mode.
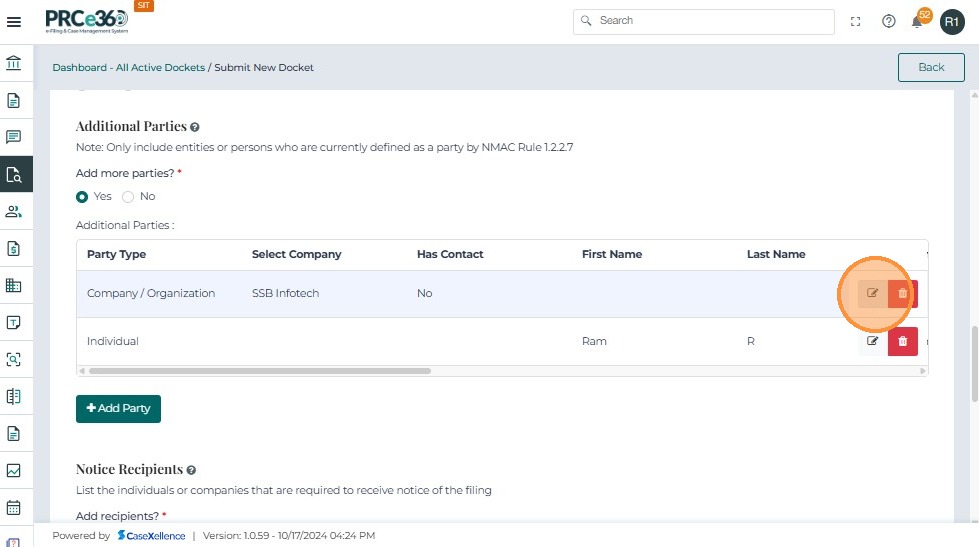
-
The filled details (Party Type, Company, Has Contact, Contact Information) are displayed again.
-
Users can modify any field as needed.
-
After making changes, click Save to update the record.
-
A note is displayed reminding users to save the edited details before continuing.
Notice Recipients
- Select Yes to specify individuals or companies who must receive notice of the filing.
- Select No if none are required.
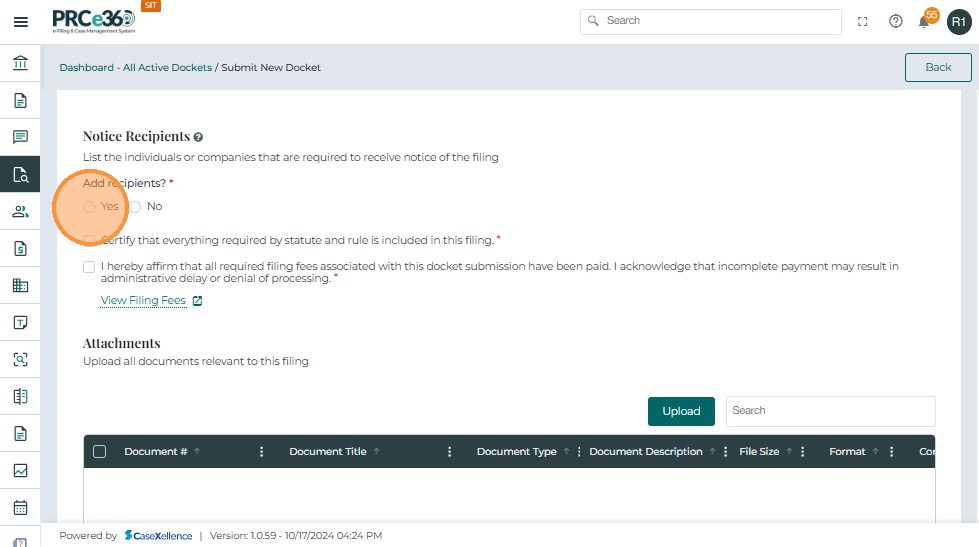
-
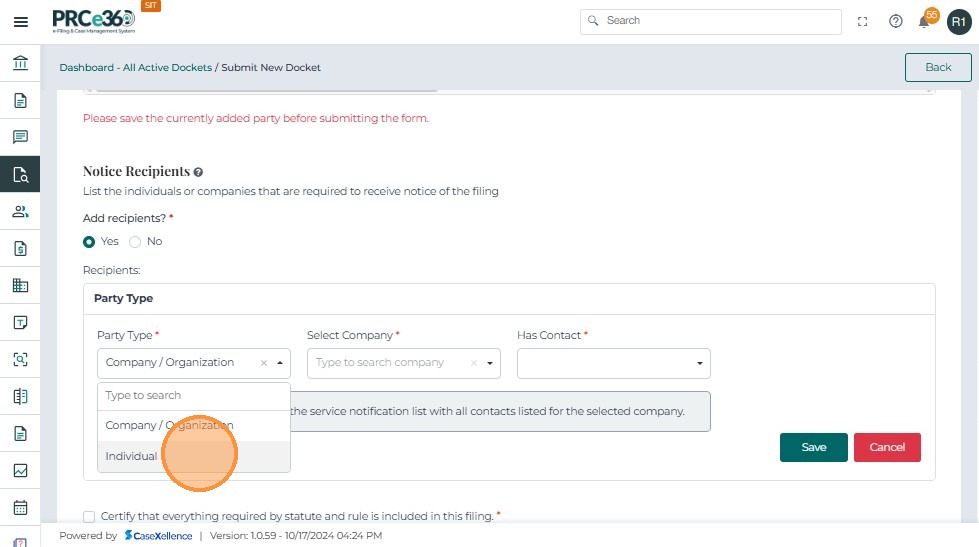
If Yes is selected, enter recipient details.
-
If Company is selected:
- Choose the company from the dropdown list.
- If not available, you must first create the company record.
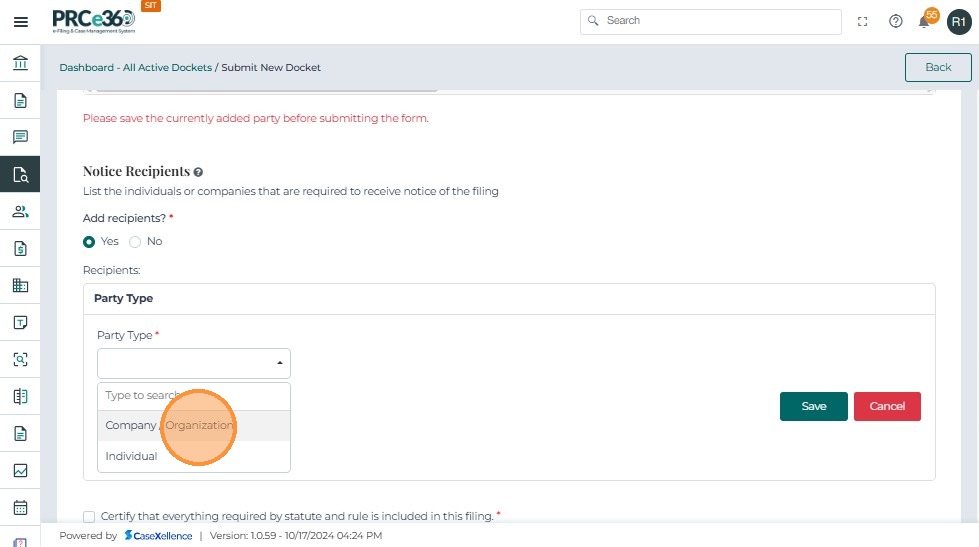
- If Individual is selected, enter First Name *, Last Name *, Email *, Phone Number *, Address Line 1 *, City *, State *, and Postal Code *.
- Add as many recipients as required. These recipients will receive official notifications about the case.
- Once details are entered, click Save to add the party.
- Use + Add Recipients to include multiple additional parties.
- Click Cancel if you wish to discard the entry.
Document Upload
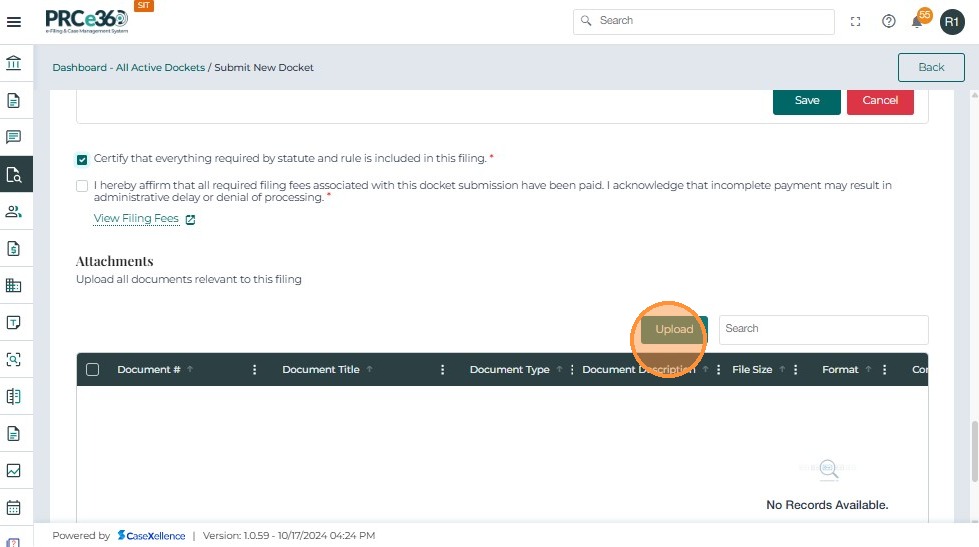
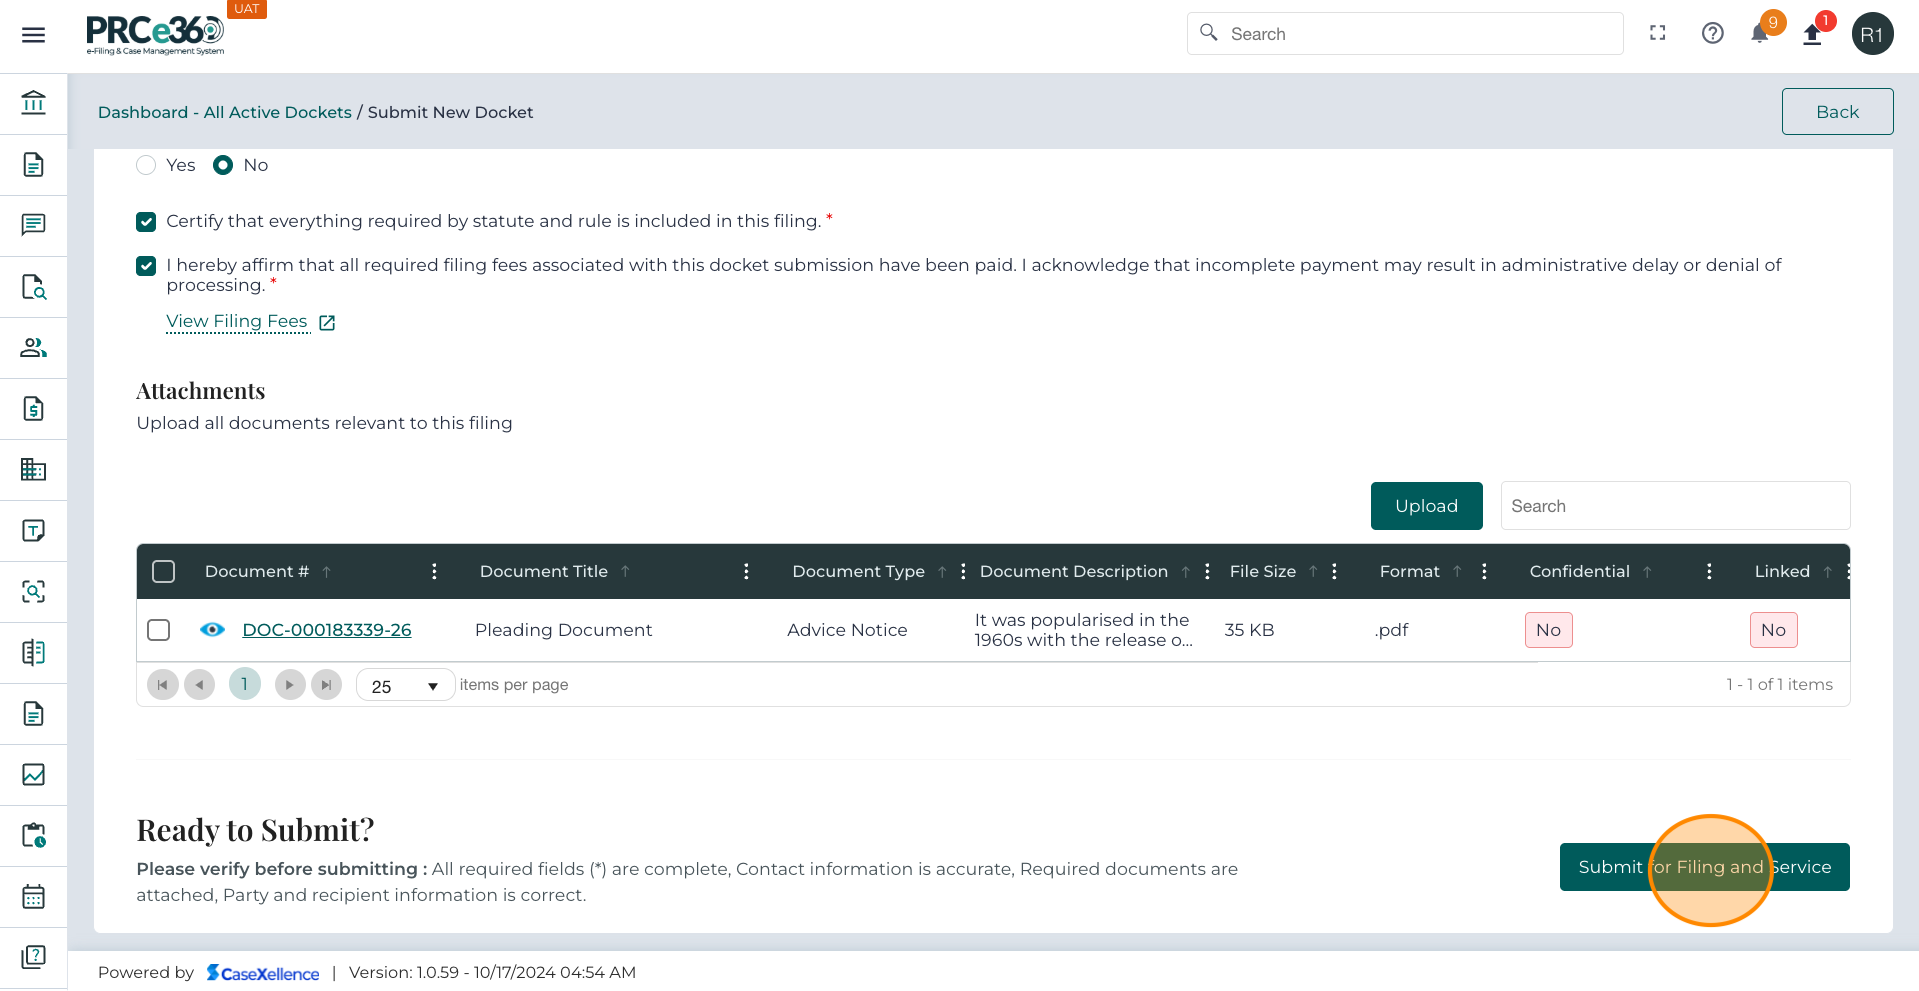
- Before adding attachments, confirm the required checkboxes are selected.
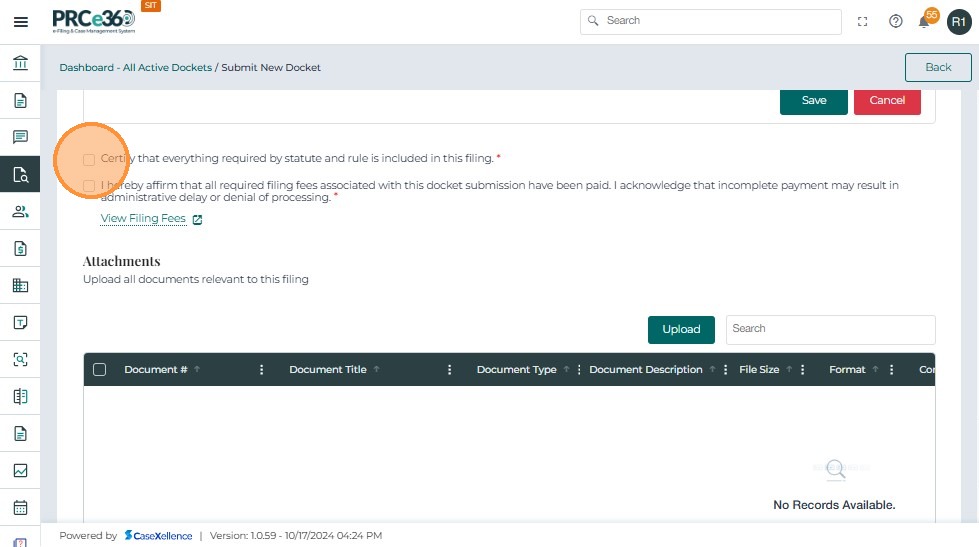
- Click the Upload button.
-
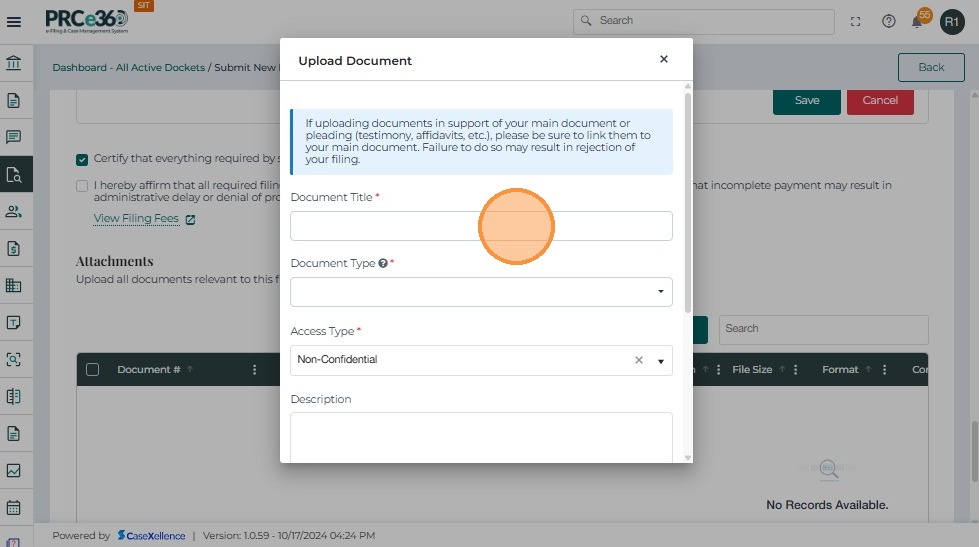
For documents to get uploaded, complete the following fields in the table:
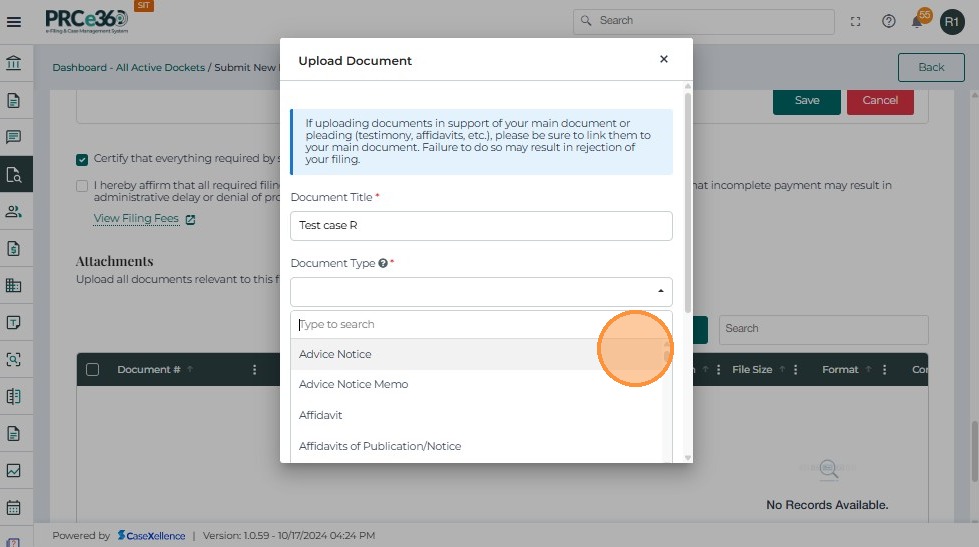
- Document Title – Provide a clear title.
- Document Type – Select from the dropdown (e.g., Petition, Exhibit, Order, Supporting Document).
- Document Description – Enter a brief description summarizing the contents.
- Choose the appropriate Access Type for the document:
- Non-Confidential – Document can be viewed publicly.
- Confidential – Document contains sensitive information and will be restricted.
- File Size – Displays automatically after upload.
- Select the appropriate document category from the dropdown list.
- Enter the Document Description.
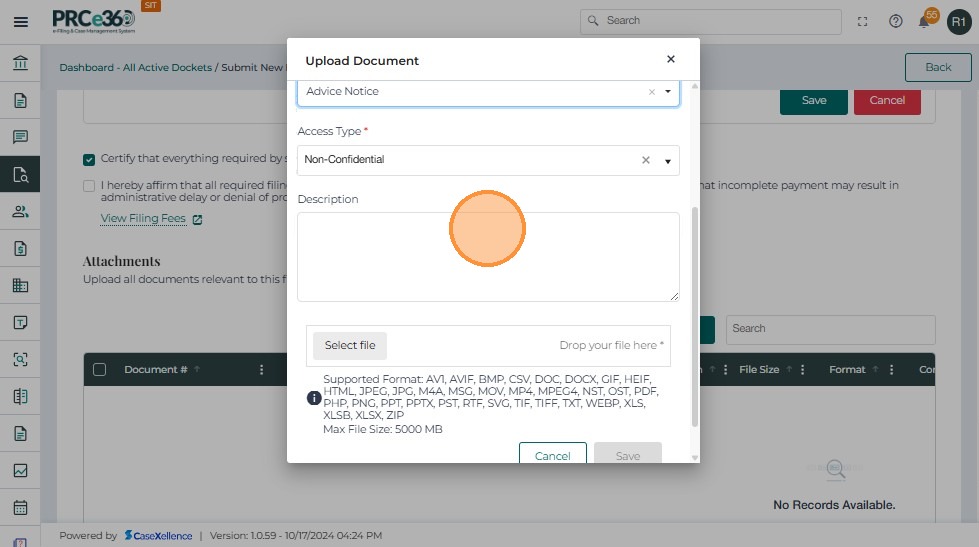
- Users can attach the document by: Clicking Select File.
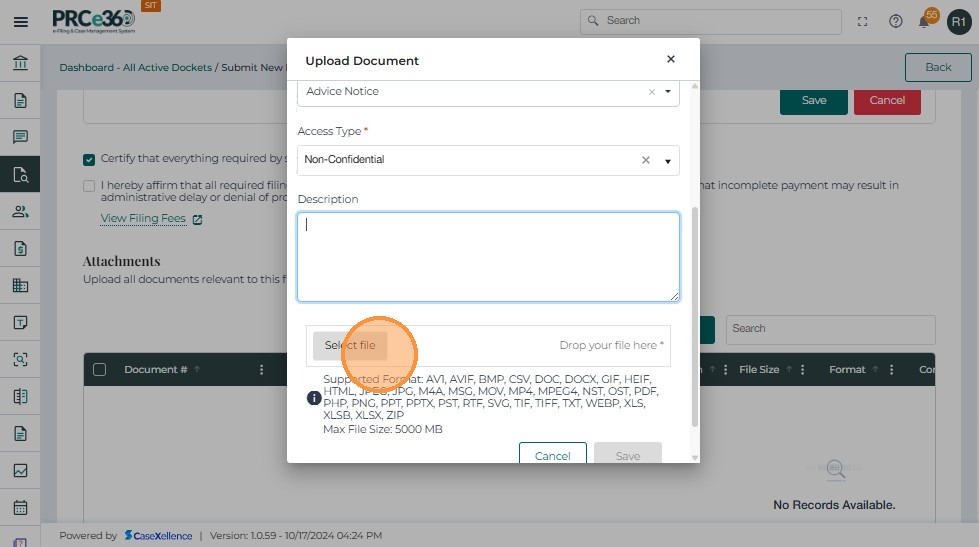
- After completing the form and attaching the file: Click Save to upload the document.
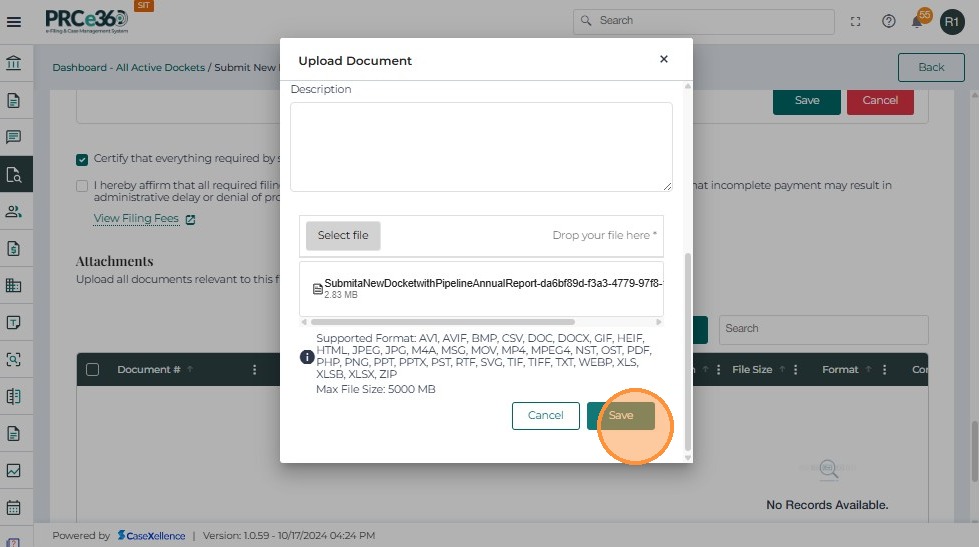
-
The system displays a confirmation message.
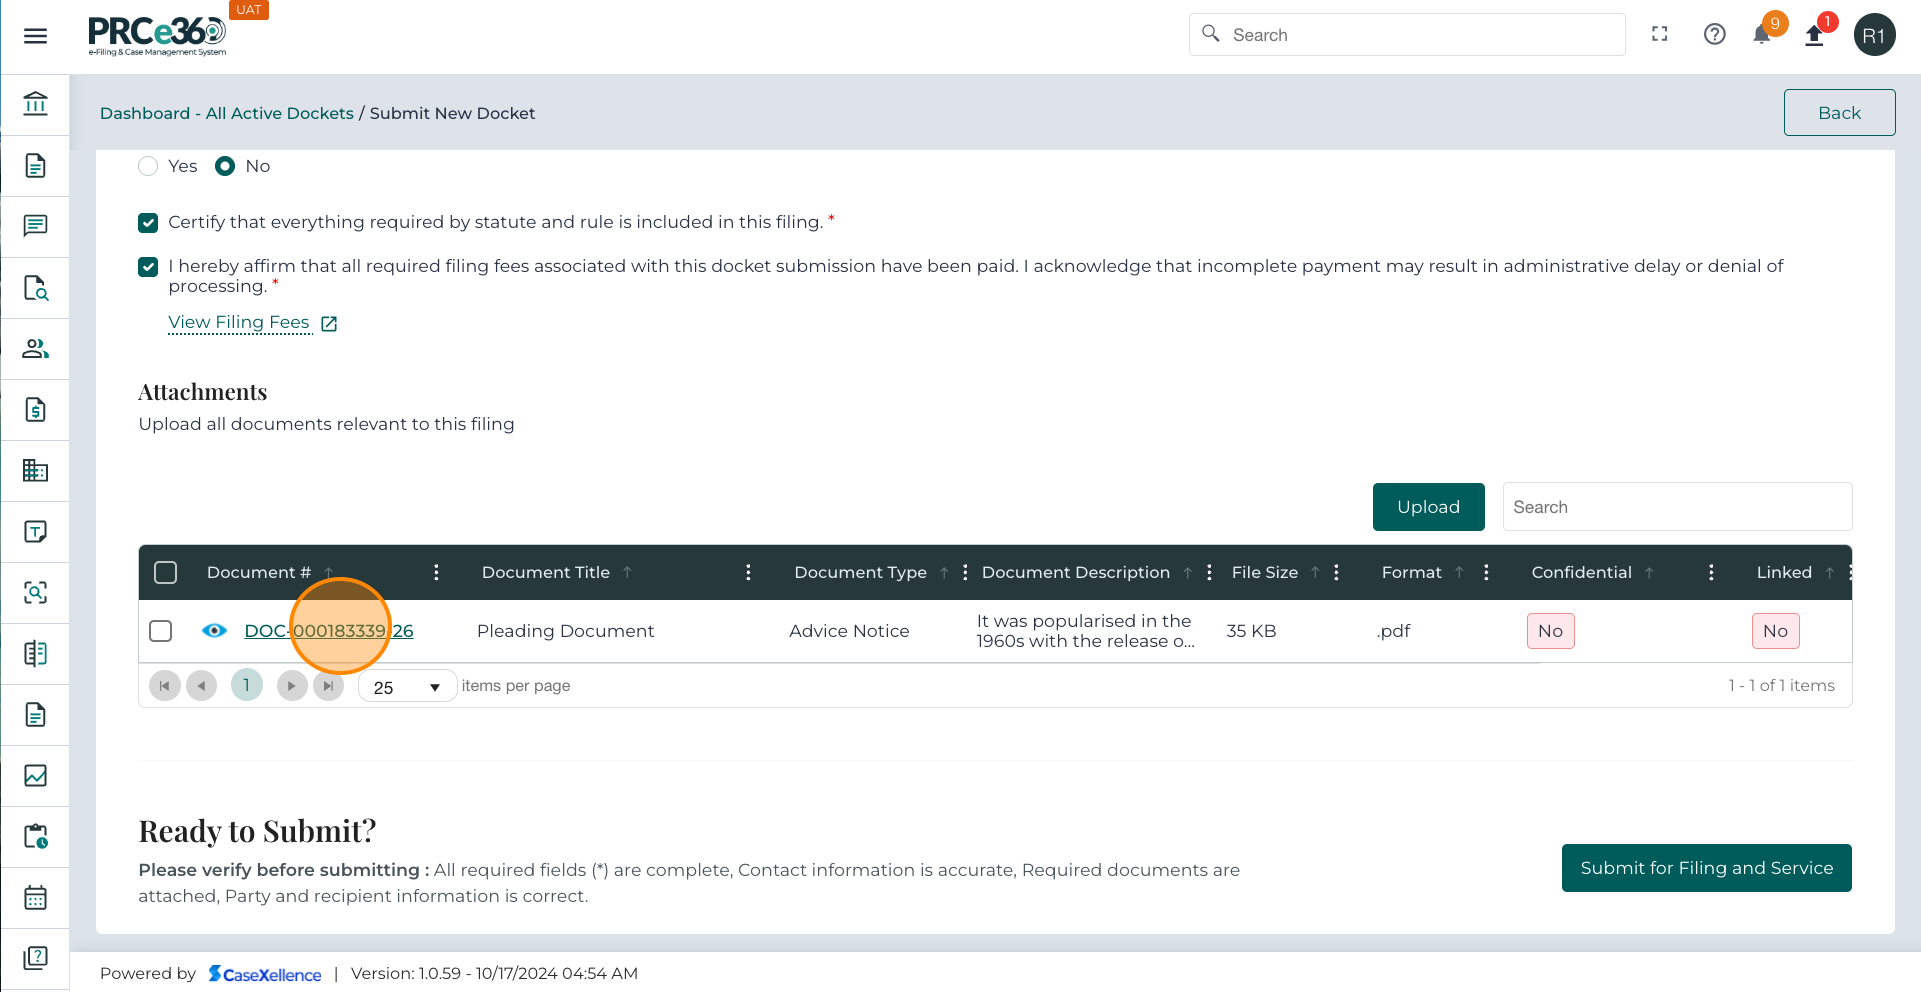
-
The uploaded document immediately appears in the Attachments Table.
-
To add more documents, click Upload again and repeat the process.
-
To remove a document, select it from the list and use the delete/remove option.
-
To replace a file, remove the old version and upload the updated one.
-
Once everything is confirmed, click the Submit for Filing and Service button.
-
The system will process your filing.
-
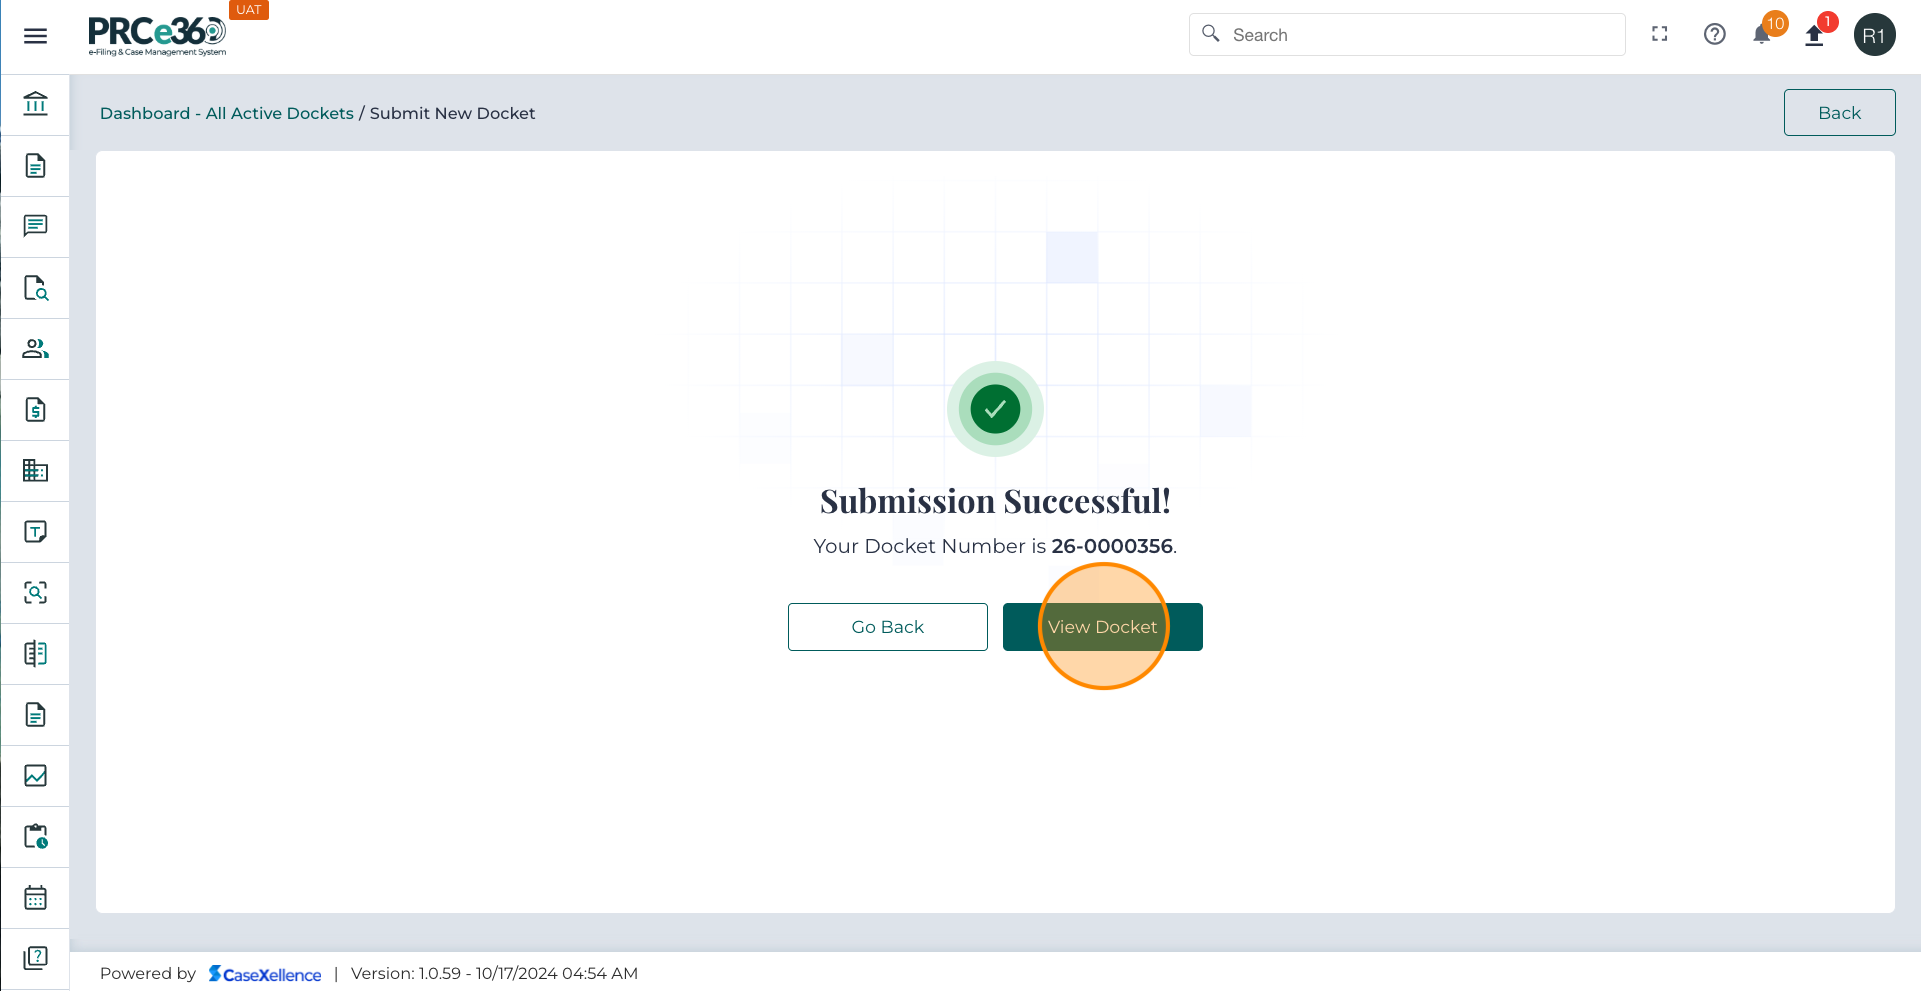
A confirmation screen will appear, showing:
- Filing successful message
- Assigned Docket Number
- Email confirmation (sent to the filer’s registered email address)
-
After submission, as the Records user submits the case, it will be auto-approved.
- Record your Confirmation Number.
- Note down the confirmation number displayed on the screen.
- This number will also be sent to your registered email address.
Dockets submitted by Records and OGC users are auto-approved and made public upon submission, whereas cases submitted by the Legal Division require review and approval from the Records Division before becoming active.
When a Legal Division user (Legal Staff or Supervisor) submits a new case, it enters the system with a status of “New” and requires approval from the Records Division before being made public.
When Legal Staff or a Supervisor submits a case:
- The system generates a Confirmation ID (e.g., CSE-CNF-0000067-25).
- The case status is automatically set to “New.”
- The field “Submission Date and Time” is auto-populated with the submission timestamp.
- The Docket is routed to the “New Docket Requests” queue, visible to Records Staff and Supervisors.
- A notification is sent to the Records Division.
From the dashboard, Records users can click on the New Dockets Requests tile to open the list of pending case submissions.
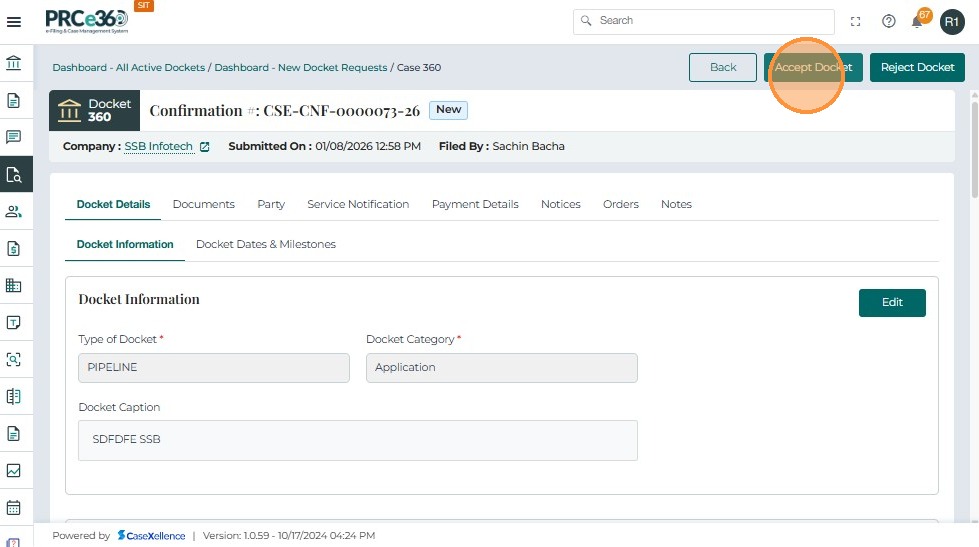
- Click the Confirmation # link (e.g., CSE-CNF-0000067-25) to open the case in Case 360 view.
- The Docket opens with the status = “New”.
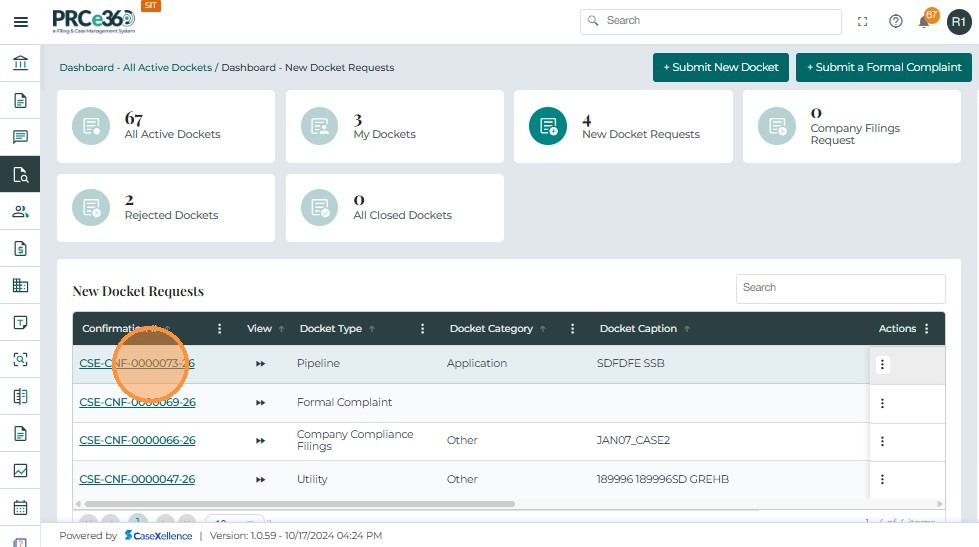
In the New Docket Requests table, each row includes an Actions icon on the right side, which has Accept and Reject.
Users can also perform actions directly from here. This allows fast processing of new dockets without navigating into the full detailed screen.
If the user chooses to open the docket request by clicking the Confirmation #, the Accept/Reject options are also available inside the detailed view.
-
At the top right of the screen, Records users will see two options:
- Accept Case
- Reject Case
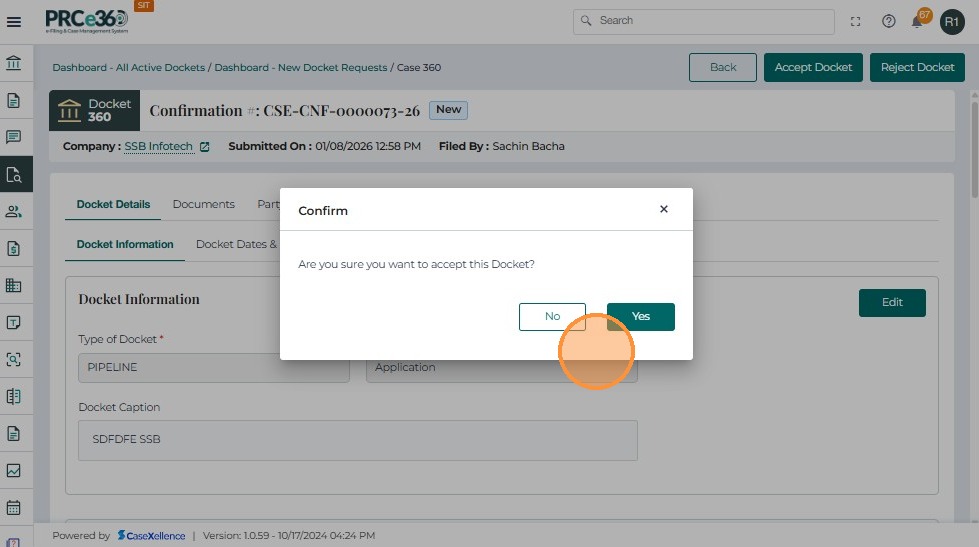
If the case meets submission standards:
- A confirmation message appears: "Are you sure you want to accept this case?"
- Select Yes to confirm.
- The system automatically updates the case status to "Active" (previously labeled "In Progress").
- The case is added to the All Active Cases queue.
- In-system notifications are sent to key stakeholders, including Records Supervisor, Records Staff, OGC Supervisor, HE Supervisor, HE Law Clerk, Utility Supervisor, Utility Bureau Chiefs, Legal Supervisor, Legal Staff, and Commissioners Staff.
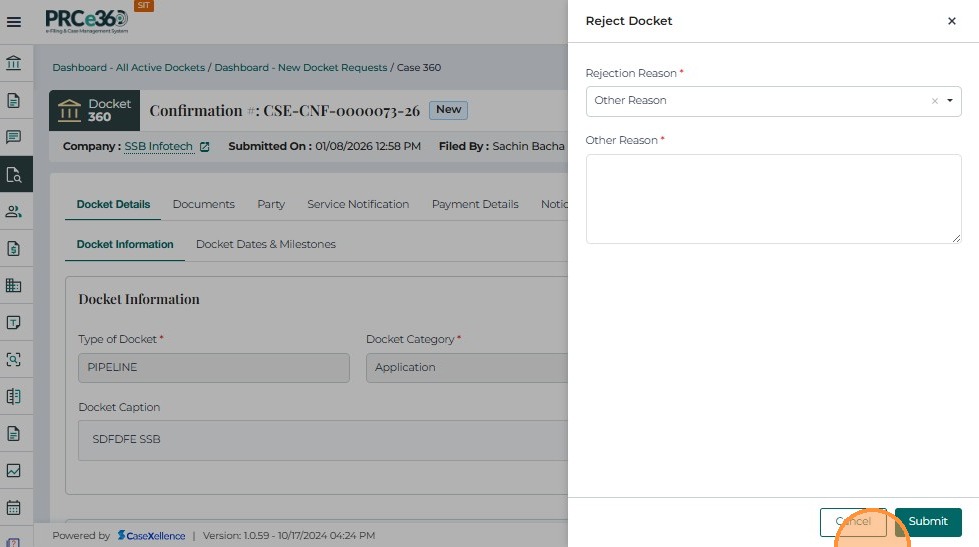
If the case does not meet the criteria, Records staff can click Reject Case instead.
- Clicking Reject Docket opens the Reject Docket side panel where the user must select a rejection reason.

-
The system provides a list of predefined reasons.
-
An additional Other Reason text box appears, where the user must type a detailed explanation before submitting.

-
After selecting (or entering) the reason:
-
Click Submit to finalize the rejection.
-
The docket moves to the Rejected Dockets queue.
-
Users may click Cancel if they do not wish to proceed.
After Submission of a Docket
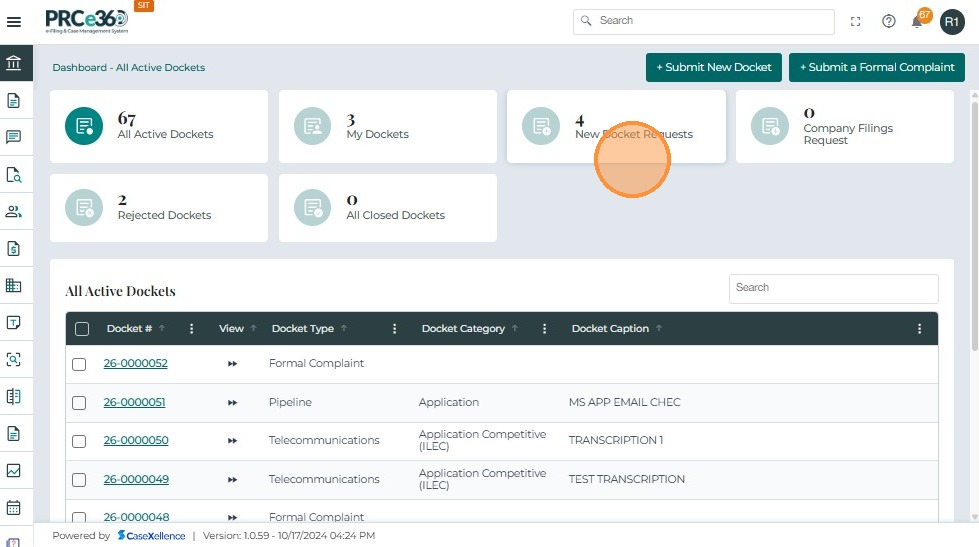
Once the user submits a new Docket, the approved Docket is then visible under the All Active Dockets section of the dashboard.
-
Navigate to the Dashboard → Cases page after logging in to the system.
-
The dashboard displays a summary of all cases, including:
- All Active Dockets
- New Dockets Requests
- Rejected Dockets
- Closed Dockets
-
Click on the All Active Dockets tile.
-
This section lists all active and approved cases currently in progress.
-
Verify that the newly submitted case appears in the All Active Dockets list.
-
Since Records Staff submissions are auto-approved:
- A Docket Number is automatically generated.
- The Case Status is set to Active.
-
The case immediately becomes visible in the All Active Dockets table.

When a case is accepted, the system automatically applies a digital stamp to all Public documents uploaded during case creation.
-
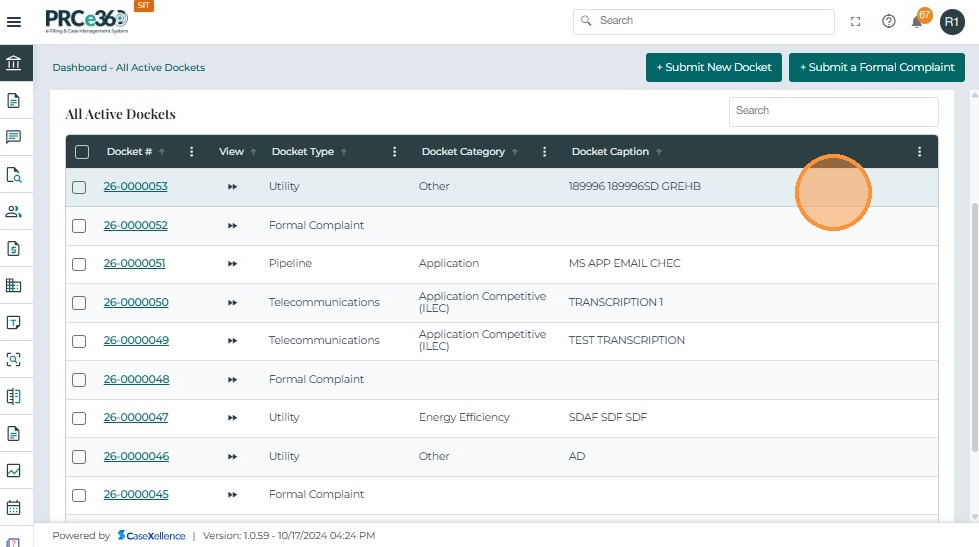
From the dashboard, click on All Active Docket.
-
This opens a list of all cases that are currently active in the system.
-
The All Active Docket table displays key case details such as:
- Docket # – Unique identification number for each case.
- Case Type – Indicates the type of case (e.g., Utility, Telecommunications, Pipeline).
- Case Category – Displays the case classification selected during creation.
- Case Caption – Brief title or description of the case.
- Company – The organization associated with the filing.
- Filed By – The name of the user who submitted the case (e.g., Records Staff 1).
- Filed Date – Displays when the case was submitted and approved.
- Assigned Users – Indicates which staff members are responsible for managing the case.
- Status – For Records submissions, the case is automatically marked Active.
- Source of Request – Identifies the method of submission (e.g., Online, Records, Legal, Staff).
- To view the full details of a specific case, click on the Docket # link.
- This will open the Case 360 view, where all case-related information, documents, and actions are available.

-
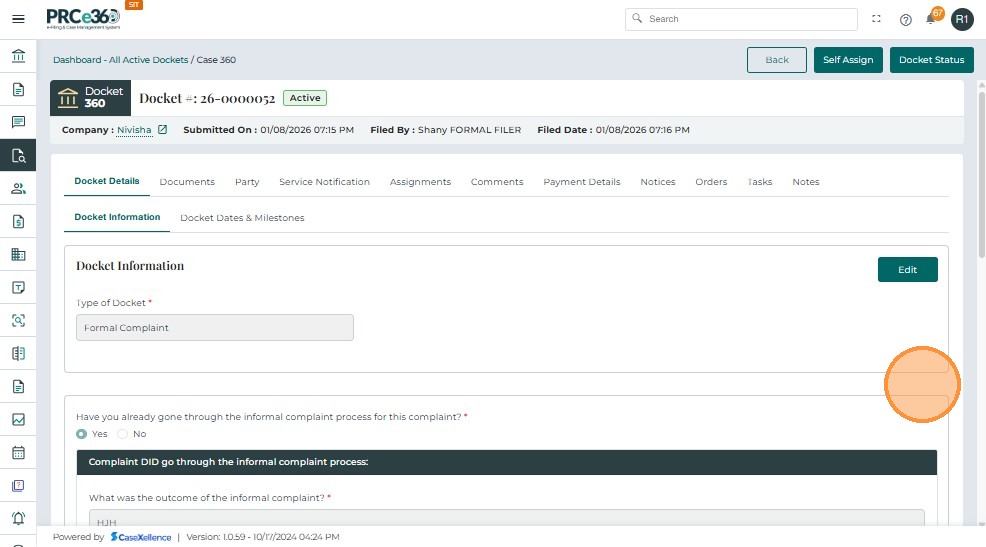
This page provides a comprehensive overview of the case, including its status, associated company, and filing details.
-
The header section displays the following key information:
-
Docket # : 25-0000030 (Active) – Displays the unique docket number along with its current status.
-
Back – Returns the user to the previous dashboard or queue.
-
Self Assign – Allows the logged-in staff member to assign the docket to themselves.
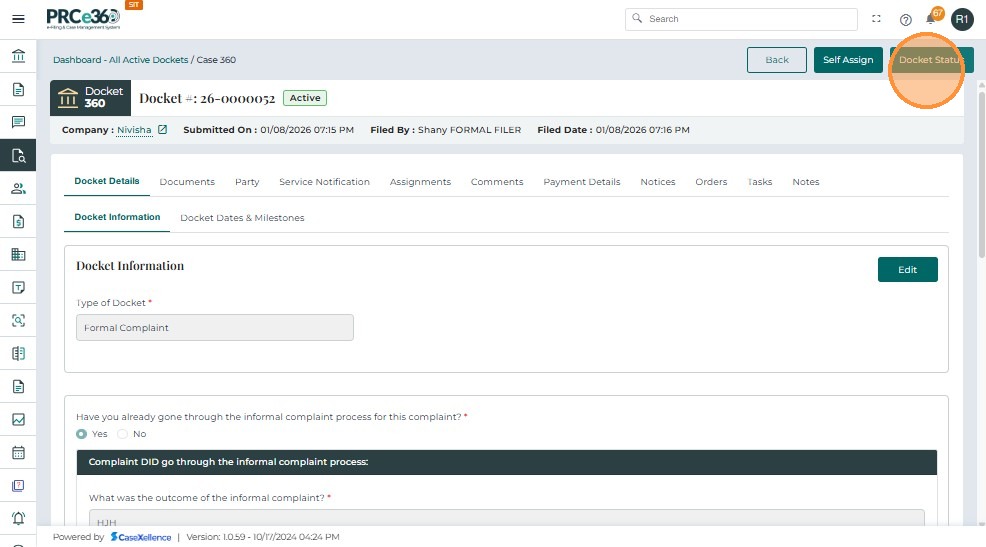
-
Docket Status – Opens the status history and current workflow status of the docket.
-
At the top of the Case 360 page, several action buttons and tabs are provided:
-
Company : Speridian Technologies – Shows the company associated with the filing.
-
Submitted On – Displays the date and time when the docket was submitted.
-
Filed By – Shows the name of the user who submitted the docket.
-
Filed Date – Indicates the official filing timestamp.
-
The navigation tabs below include:
-
Docket Details – Main section that contains docket information and key data.
-
Documents – Shows all documents filed with the docket.
-
Party – Lists all parties and participants associated with the docket.
-
Service Notification – Displays service list and notification details.
-
Assignments – Shows assigned staff and assignment history.
-
Comments – Allows internal users to view or add internal comments.
-
Payment Details – Displays filing fee information and payment records.
-
Notices – Shows notices issued related to this docket.
-
Orders – Lists Commission or staff orders issued in the docket.
-
Tasks – Displays workflow tasks associated with the docket.
-
Notes – Holds internal notes for internal use only.
-
Legacy Data – Shows migrated data from previous systems.
-
For more detailed information on the Case 360 view, see Case 360 view.
- On the upper-right corner of the Case 360 page, click the Docket Status button.
-
The Set To dialog box will appear, displaying the field Select Status.
-
The system will display two status options:
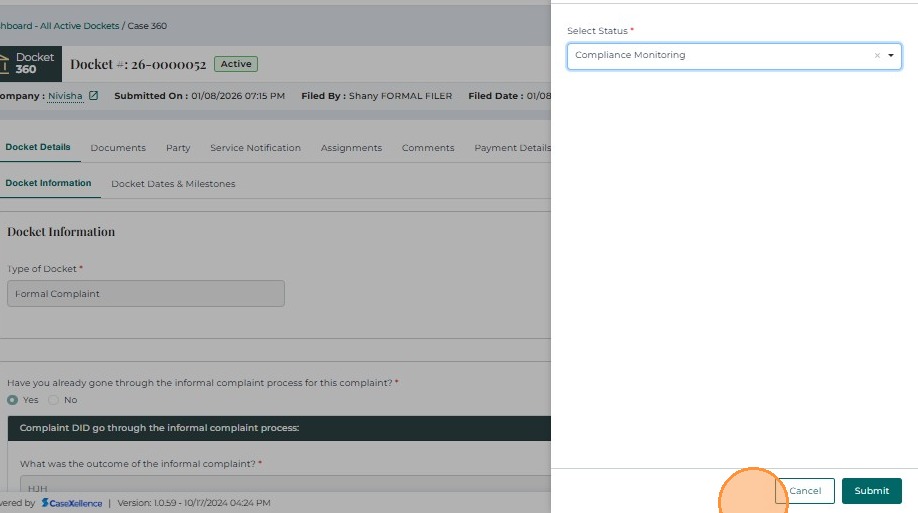
- Compliance Monitoring → Indicates that the case is now under compliance review, and follow-up activities will be tracked.
- Closed → Marks the case as completed, and no further actions are required.
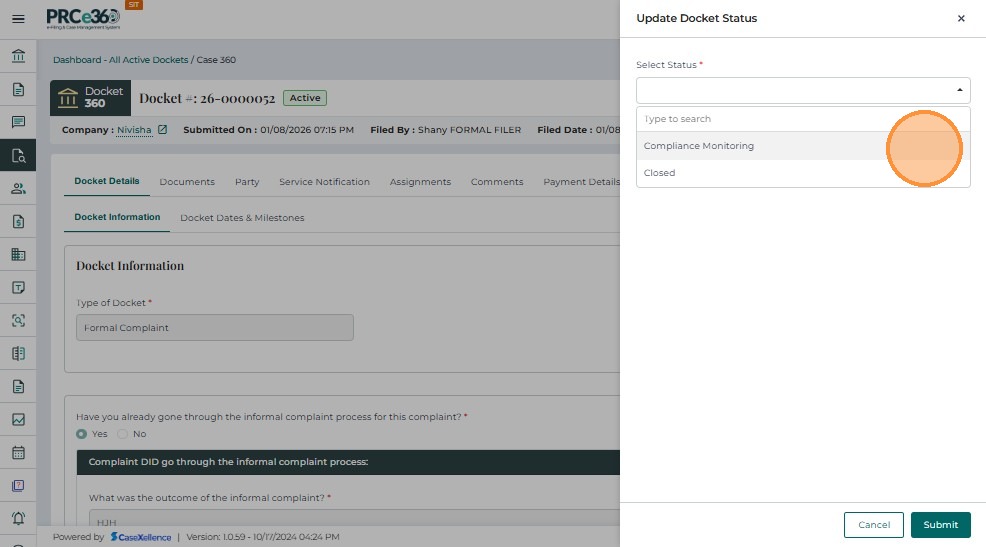
- Select the appropriate status based on the current progress of the case.
- After selecting the desired status, click Submit to apply the change.
- After a case has been created, users with the necessary permissions, such as the Records user, can self-assign a case to take ownership and manage further actions.
- On the top-right section of the Case Details page, click the Self Assign button.
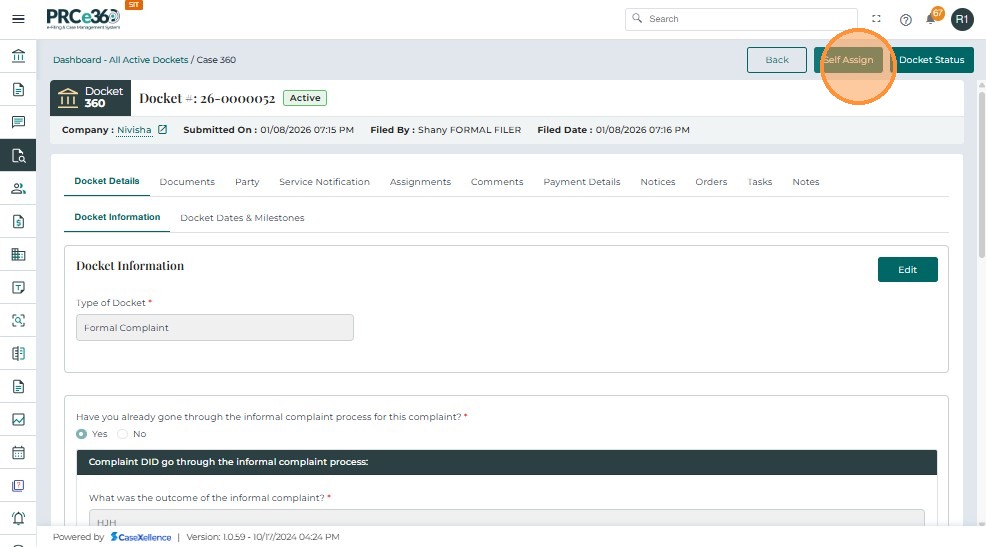
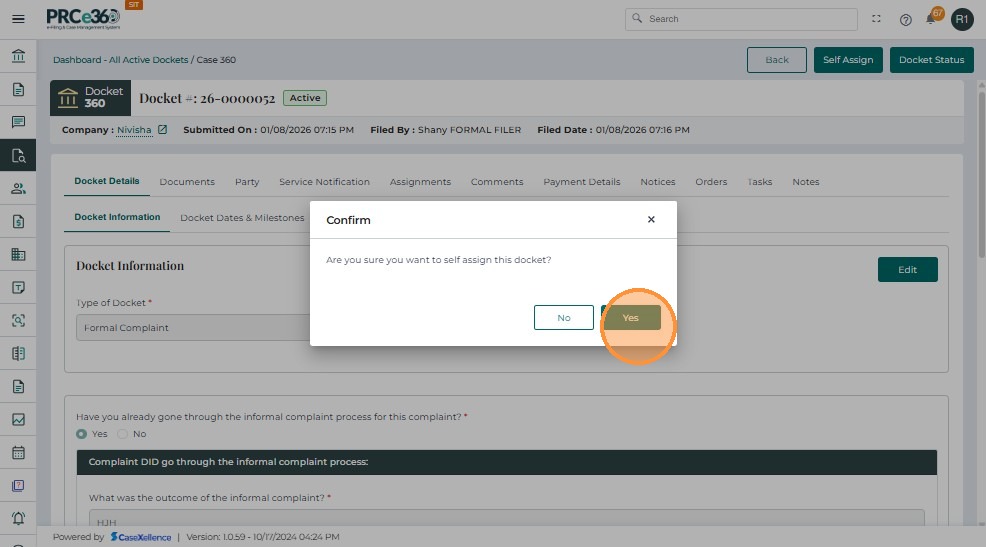
- A confirmation pop-up window appears.
- In the pop-up, click Yes to confirm the self-assignment action.
- The system processes the request and assigns the case to your user profile.
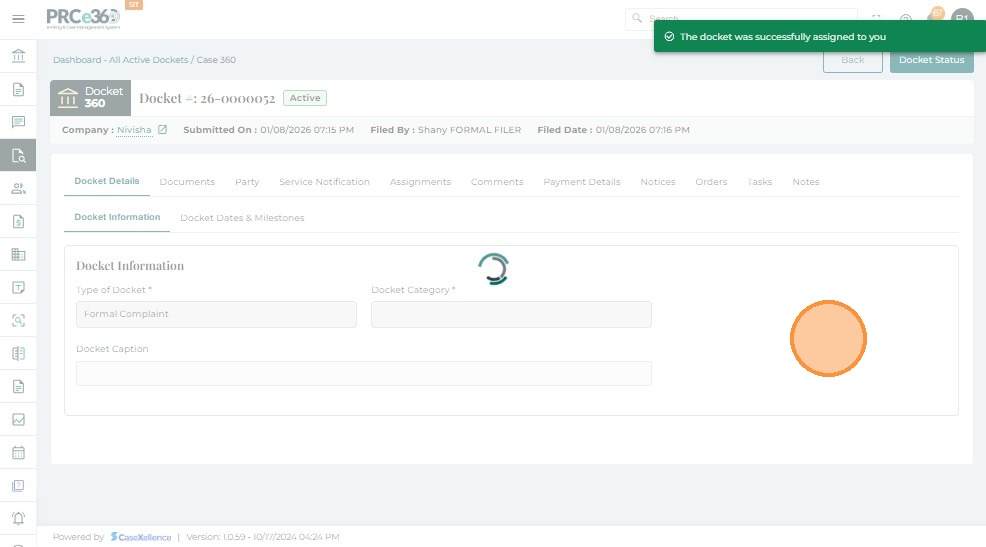
-
A confirmation message appears at the top of the screen:
The case was successfully assigned to you
-
The assigned user information will now reflect your name in the Assigned Users column.
- Once a case has been successfully filed or self-assigned, the user can view their assigned cases under the My Cases section on the dashboard.
- Select the My Cases tile to view all cases assigned to you.
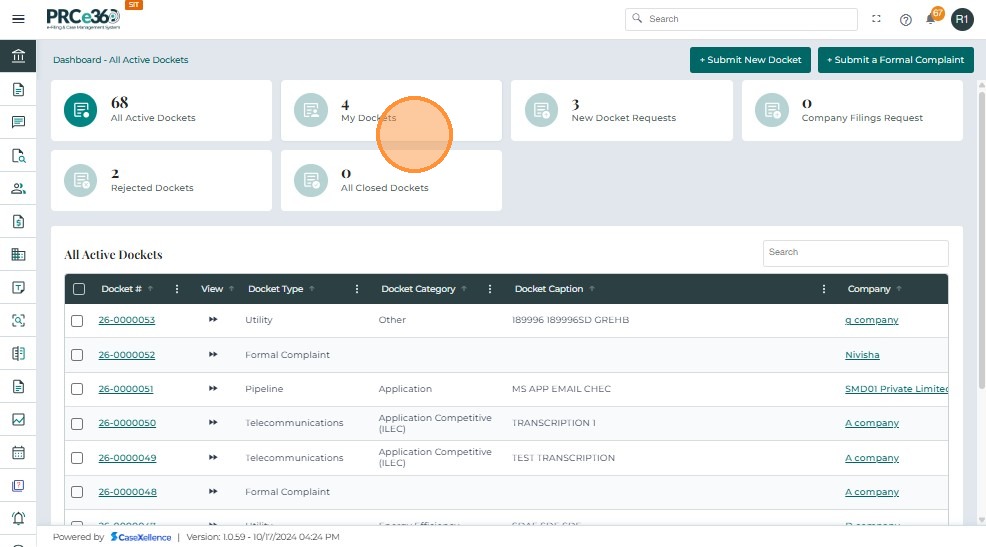
- The My Cases table lists all cases filed or assigned to the logged-in user.
- Click the Docket Number link to open detailed case information.
- The system will redirect to the Case 360 page, where users can view details such as Documents, Parties, Comments, and Assignments related to the case.
Assign Case(s)
Authorized internal users can assign one or multiple dockets directly from the All Active Dockets grid without opening each docket individually. This improves workload distribution and speeds up case handling.
-
Users can select one or multiple dockets using the checkbox in the first column.
-
Select the checkbox next to each docket that needs to be assigned.
-
Multiple selections are supported.
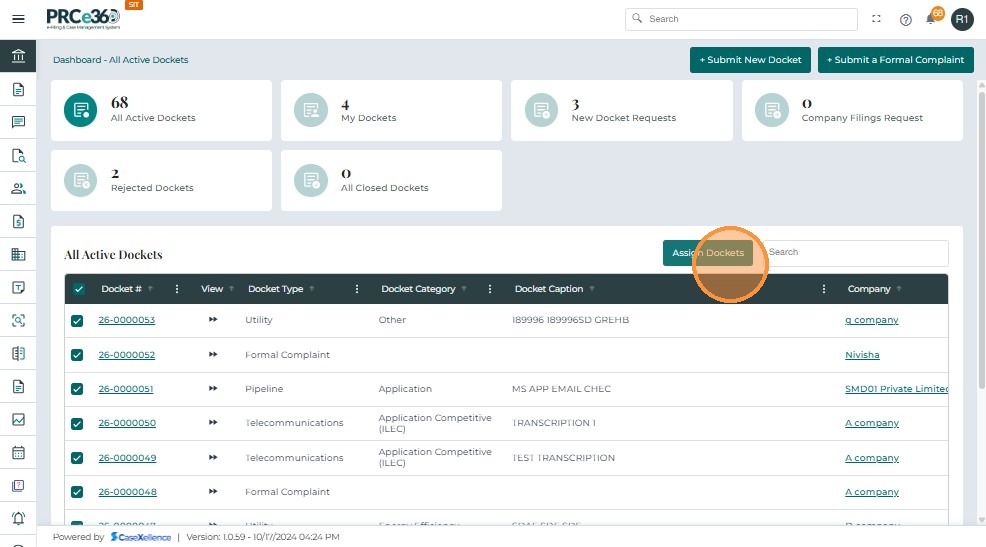
-
Once at least one docket is selected:
-
The Assign Case(s) button becomes visible at the top-right corner of the grid.
-
Click Assign Case(s) to open the assignment panel.

-
Use the Select Assignee dropdown to choose the internal staff member who should receive the docket(s).
-
The dropdown lists all eligible assignees.
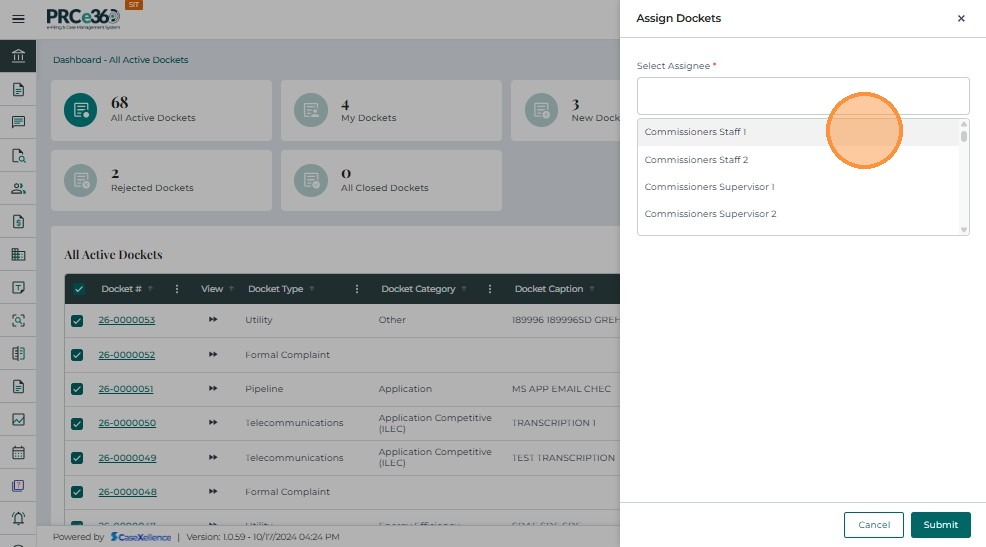
- Click Submit to confirm the assignment.
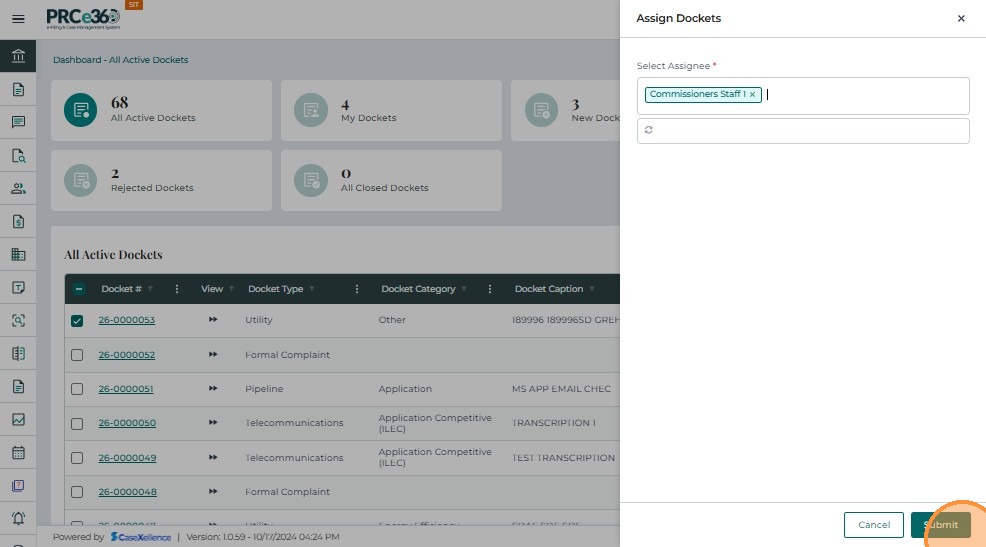
- A confirmation message appears: “Case(s) assigned successfully.”
Once assigned:
-
The cases move to the selected user’s My Dockets queue.
-
Assignment history can be viewed within the docket under the Assignments tab.
Notes and Summary
- Records Division plays the central role — they can view, edit, approve/reject, reopen, and self-assign cases.
- OGC and Legal Divisions can submit new cases, edit assigned cases, and self-assign, but require Records approval before activation.
- Commissions and HE users can edit or self-assign cases, but cannot create or approve them.
- Pipeline, Utilities, and COS divisions can self-assign and edit assigned cases.
- IT and CRD divisions have technical edit and reopen capabilities, but do not participate in case creation or approval.
Duplicate Case Detection
To prevent accidental creation of duplicate cases, the system automatically performs a duplicate validation check based on the Case Caption and Related Company fields whenever a new case is created.
This ensures each filing represents a unique case, maintaining accuracy and consistency in the Case Management System. If an exact match is found, the system will display a warning message and require confirmation before proceeding.
- While completing the Case Information section, fill in the Case Caption and Company fields.
- The system automatically checks for existing cases with the same information.
- If an existing case matches both the caption and company, a red warning message will be displayed.
- The case number displayed is a clickable link that opens the existing case in a new review tab.
- If you confirm that the current filing is not a duplicate, check the box.
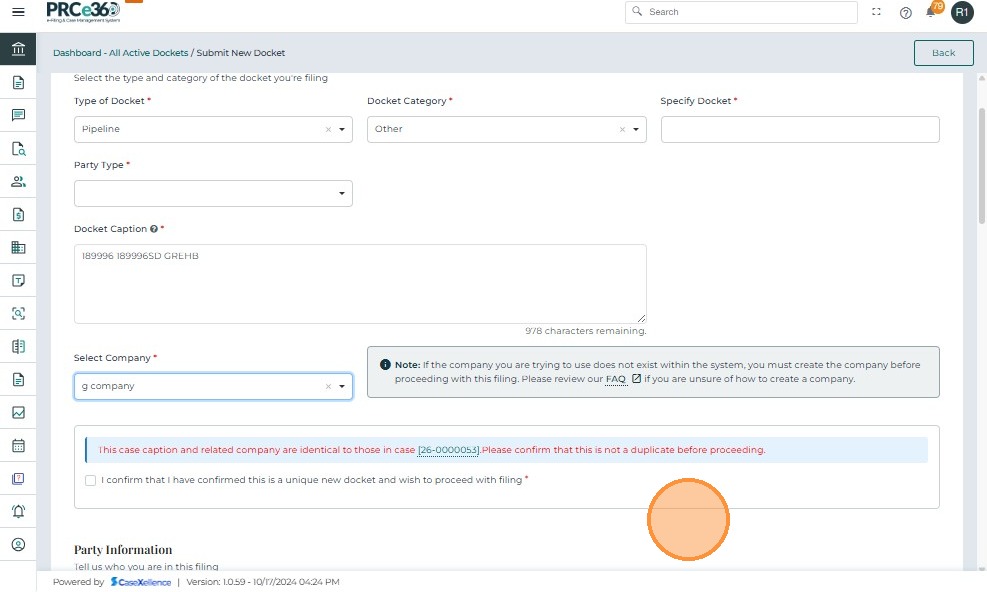
- Once the checkbox is selected, the Submit Case button becomes active.
- You can now continue completing the rest of the form and proceed with submission.
- The system will prevent you from submitting the case until you certify that it is unique.
Common Issues & Troubleshooting
Issue: Cannot find company in dropdown
Solution:
- Check if the company is registered in the system
- Use the "Create" link to register a new company
- Verify you're searching with the correct company name
Issue: Submit button is disabled
Possible Causes:
- Required fields are missing (marked with *)
- Duplicate case warning not acknowledged
- Form validation errors
Solution:
- Review all required fields (marked with *)
- Check for validation error messages
- Acknowledge duplicate case warning if displayed
Issue: Address not auto-populating
Solution:
- Ensure you're using the Address Search field (not typing directly)
- Select an address from the dropdown suggestions
- If no suggestions appear, try a different address format
Issue: Documents not uploading
Possible Causes:
- File size exceeds limit
- File type not supported
- Network connection issue
Solution:
- Check file size and format requirements
- Try a different file format if needed
- Verify your internet connection
See Also
- Case 360 view - Learn how to view and manage cases after submission
- Register New Company - Register a company if it doesn't exist in the system
- Dashboard Overview - Understand the dashboard and navigation
- Advanced Search - Find cases and documents using advanced search